Test Before You Recoat: 4 Step Ceramic Coating Maintenance
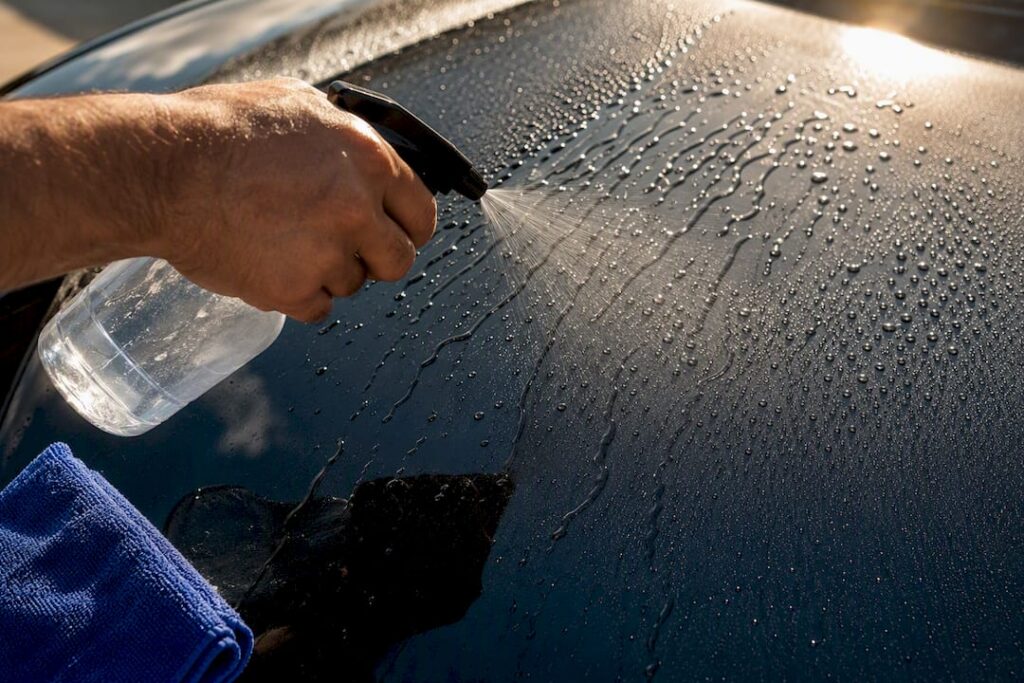
Ceramic coating maintenance comes down to one routine and one diagnostic rule: wash regularly with a pH-neutral shampoo, perform a full decontamination periodically, generally within a several-month interval, and apply a SiO₂ booster spray every few months. If water beading weakens, run the sequence before you spend money on a recoat: wash, iron decontamination, an isopropanol panel wipe, then a bead test. Only recoat if beading still fails to return.
Table of Contents
- Building Your Ceramic Coating Maintenance Schedule
- How to Wash a Ceramic Coated Car Without Damaging It
- Decontamination and Testing: Is Your Coating Still Working?
- SiO₂ Boosters: What They Do and How Often to Use Them
- What Damages Ceramic Coatings (and How to Fix Common Problems)
- When to Recoat vs. Just Boost or Decontaminate
- What a Professional Maintenance Visit Includes
- Your Ceramic Coating Care Checklist
- Book Ceramic Coating Maintenance Through MobileDetailing.io
- Sources
- FAQ
Building Your Ceramic Coating Maintenance Schedule
A coating doesn’t fail on a fixed timeline. It fails based on what hits the paint and how often you clean it off. That’s why the maintenance calendar below isn’t a rigid countdown. It’s a baseline you adjust up or down depending on where the car lives and what it drives through.
Weekly or biweekly tasks
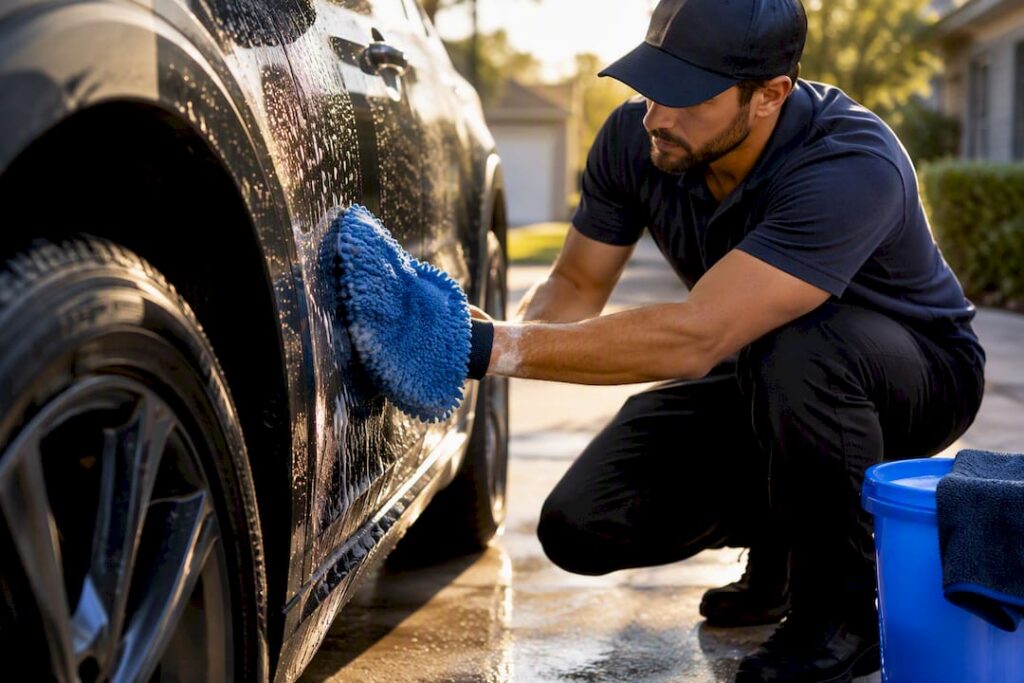
- Hand wash using the two-bucket method with a pH-neutral shampoo made for coated paint.
- Remove bird droppings, bug splatter, and tree sap as soon as you spot them rather than waiting for wash day.
- Skip automatic tunnel washes with spinning brushes. Multiple detailing guides point to regular hand washing every one to two weeks combined with avoiding brush washes as the single biggest factor in coating longevity.
Monthly tasks
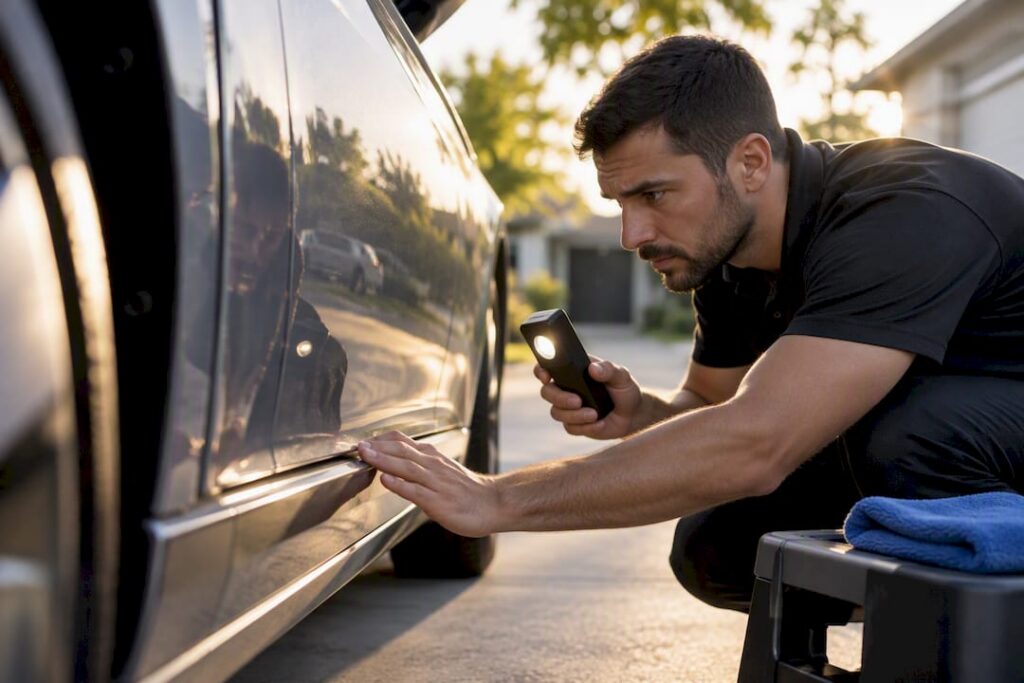
- Run a water bead test on a clean, dry panel in indirect light.
- Check whether beads sit tight and round or start flattening into sheets.
- Feel the paint with a clean hand or plastic bag over your fingers. A gritty texture means bonded contamination is building up before you can see it.
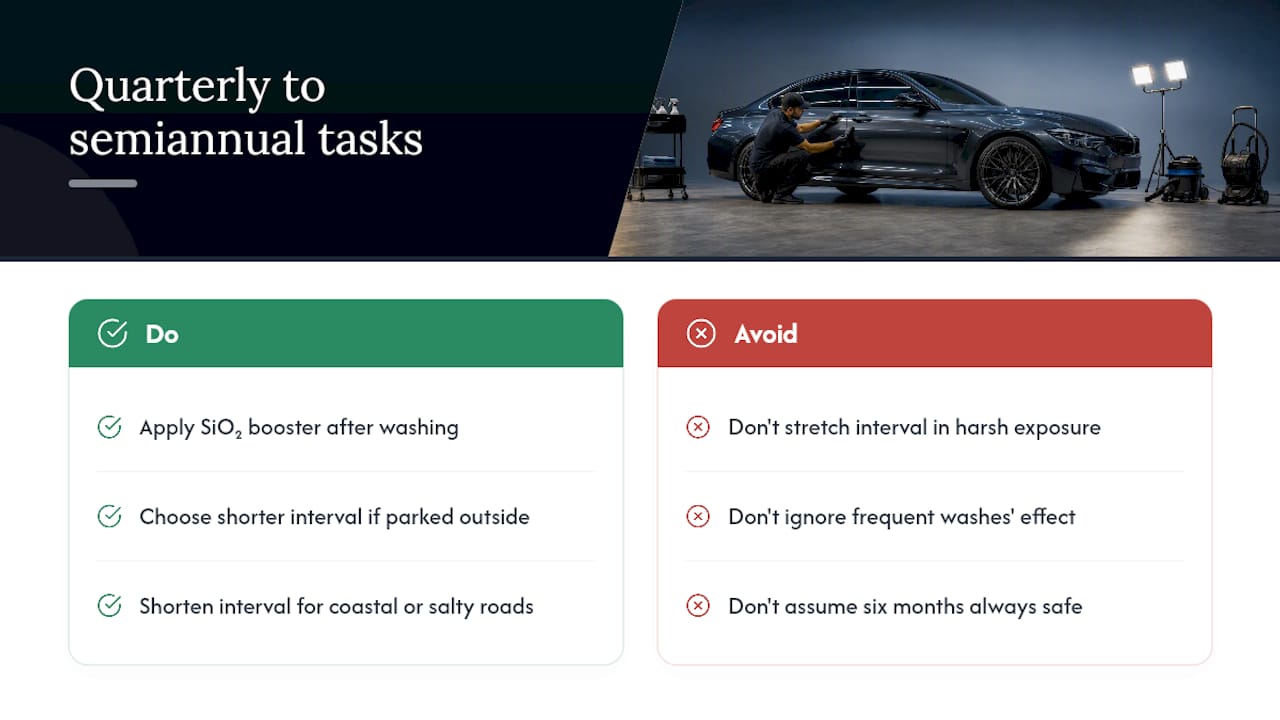
Quarterly to semiannual tasks
Apply a SiO₂ booster after a proper wash, and lean toward the shorter end of that window if the car sits outside under strong sun or gets washed more than once a week. Coastal air, road salt, and daily commuter mileage all pull maintenance intervals tighter. A car garaged most of the week in a mild climate can stretch toward the six-month mark without much drama.
Annual tasks
Approximately annually, depending on exposure, perform a full decontamination with an iron remover followed by a clay bar or clay mitt. Heavy commuters, fleet vehicles, and anything parked near industrial fallout or salted highways should lean toward the six-month end of that decontamination window rather than waiting a full year. This is also a natural point to schedule a professional inspection, since a trained eye under proper lighting will catch thinning spots you’d miss in a driveway.
Climate matters more than most owners expect. A coating baking under desert sun sees faster top-layer breakdown than the same product on a car that spends its life in a covered garage, because cumulative UV exposure and high surface temperature drive the oxidation that degrades hydrophobic performance at the molecular level. Salt-belt winters add a second stressor: more frequent washing to clear road brine, which means more mechanical contact with the surface even when you’re doing everything right.
How to Wash a Ceramic Coated Car Without Damaging It
The wash itself is where most coating damage actually happens, not from neglect but from technique. Mechanical wear from repeated wash cycles is one of the two primary ways coatings break down over time, the other being harsh chemistry, so how you wash matters as much as how often.
- Rinse the entire car first with a hose or pressure washer to knock loose grit, dirt, and dust before any mitt touches the paint.
- Work top to bottom, since lower panels and rocker areas collect the heaviest grime and you don’t want to drag that dirt upward.
- Use the two-bucket method: one bucket with pH-neutral shampoo, one with plain rinse water, both fitted with grit guards.
- Dunk and rinse the wash mitt in the rinse bucket after every panel, before reloading it with soap.
- Choose a plush microfiber or lambswool mitt, never a sponge or dish rag, which can trap grit against the surface.
- Pick a shampoo labeled coating-safe and pH-neutral, and skip anything with wax or gloss enhancers baked in. Those additives build up in layers over time and interfere with how the coating beads and sheets water.
- Dry with a high-GSM microfiber towel using a blotting motion instead of dragging the towel across the paint.
- Use a filtered air blower on tight spots like mirror housings, emblems, and trim gaps where water hides and eventually spots.
Dragging a towel across dry or half-dry paint is one of the more common ways owners introduce fine swirl marks into an otherwise well-maintained coating. It’s a small habit change with an outsized payoff.
Pro Tip: Keep a dedicated “decon only” wash mitt separate from your regular weekly mitt. Cross-contaminating a clean mitt with iron-remover residue or clay lubricant can leave faint streaking on your next wash.
High-pH degreasers do more damage than most owners realize. Products above pH 10 chemically attack the silica network that gives the coating its hydrophobic properties, breaking it down in a way that simply rinses away and can’t be undone with a booster.
Decontamination and Testing: Is Your Coating Still Working?
Weak beading almost always means contamination, not coating failure. Bonded fallout, iron particles, and film buildup sit on top of the coating and mask its hydrophobic layer long before the coating itself has actually degraded.
Here’s the decontamination and diagnostic sequence in order:
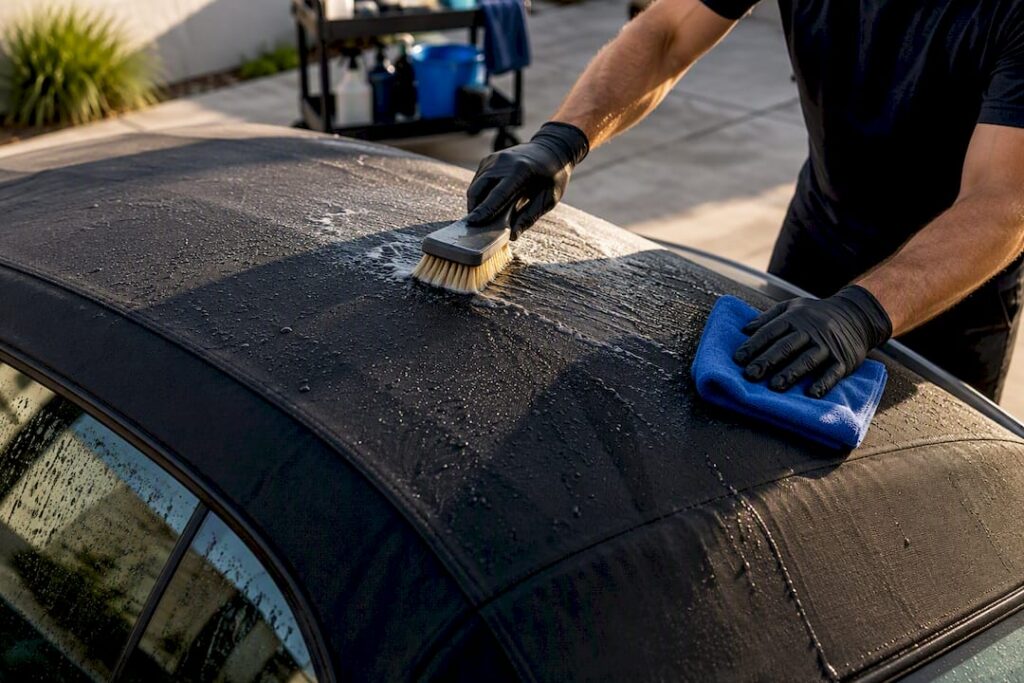
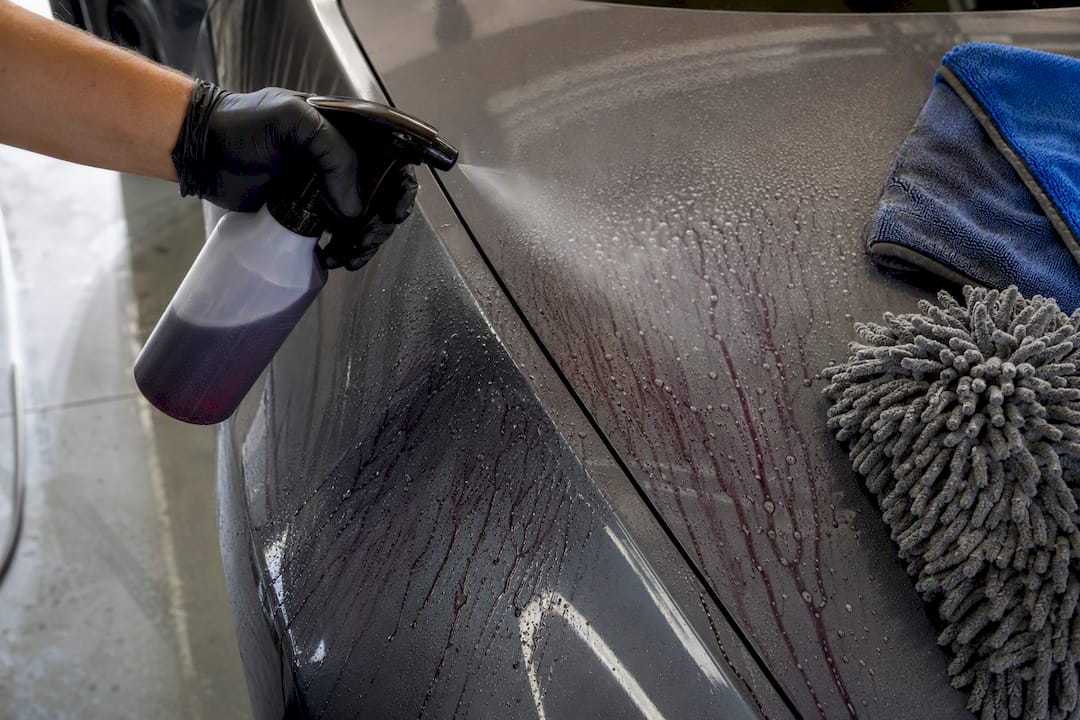
- Spray an iron remover on a cool, shaded panel and let it dwell per the product’s label, watching for the purple bleeding reaction that signals it’s pulling embedded iron particles.
- Rinse thoroughly, then follow with a clay bar or synthetic clay mitt using a dedicated lubricant, working in straight lines with light pressure.
- Rinse and hand wash the full car again to clear any residue.
- Wipe a test panel with a diluted isopropanol solution on a clean microfiber towel. This strips oils and residue so you’re testing the actual coating surface, not a film sitting on top of it.
- Run the water bead test again on that panel.
A full decontamination wash restores bonded fallout removal and prevents the gradual performance decline that heavy commuters and industrially exposed vehicles see faster than garage-kept cars.
Here’s the callout that matters most for your wallet: loss of tight beading most often points to surface contamination rather than structural coating failure, and running the wash, decon, and panel wipe sequence typically restores beading when the coating underneath is still intact. Skipping straight to “the coating is dead, time to recoat” without testing first is how owners waste money on premature reapplication.
If the panel feels heavily bonded with contamination, if clay drags rather than glides even with fresh lubricant, or if you’re not confident distinguishing surface film from etched damage, that’s the point to call a professional rather than risk marring the paint underneath a thin coating layer.
SiO₂ Boosters: What They Do and How Often to Use Them
A booster is a top-up, not a repair. It refreshes the hydrophobic outer layer and adds slickness back to the surface, but it does nothing for a coating that has genuinely broken down at the structural level.
- Apply boosters after a full wash on a cool, clean, dry panel, section by section.
- Spray or wipe the product on, let it flash per the label’s timing, then level and buff it off with a clean, plush microfiber towel before it fully cures.
- Reapply boosters every few months generally, adjusting for heavier sun exposure, frequent washing, or salted roads.
- Treat boosters as cheap insurance, not a substitute for decontamination. A booster applied over dirty, contaminated paint just locks the grime in.
SiO₂ booster sprays applied on that three to six month cadence restore hydrophobicity and stretch the coating’s usable life, though they’re sacrificial by design and never replace the base layer. Regular quarterly boosting can meaningfully extend how long the top layer performs, but the cost adds up over several years of ownership, so weigh that against simply booking a full recoat if you’re already washing and boosting every few months without relief.
What Damages Ceramic Coatings (and How to Fix Common Problems)
Certain habits shorten coating life faster than normal wear ever would. Skip these:
- Dish soap and degreasers, both of which strip the coating’s hydrophobic layer and often sit well above pH 10.
- Automatic car washes with spinning brushes, which introduce fine scratches through repeated mechanical contact.
- Household glass cleaners or all-purpose cleaners with ammonia, which can be just as harsh as dedicated high-pH products.
- Rough terry cloth towels or anything without a soft microfiber weave.
Bird droppings and tree sap are acidic and need to come off fast. Soak the spot with a pH-neutral quick detailer or dedicated dropping remover, let it dwell for a minute or two to soften the residue, then lift it gently with a clean microfiber towel rather than scrubbing. Tar spots respond well to a dedicated tar remover applied on a cloth and dabbed rather than rubbed, followed by a rinse and spot wash.
If you’re seeing actual scratches or swirl marks rather than dulled beading, that’s a job for professional paint correction, not a home polish kit. Aggressive DIY polishing can cut through the coating entirely and, in many cases, voids warranty coverage tied to improper care.
Pro Tip: Keep a small bottle of pH-neutral quick detailer in your trunk. Bird droppings do more damage the longer they bake in direct sun, so treating them within the hour beats waiting for your next scheduled wash.
When to Recoat vs. Just Boost or Decontaminate
Run the decontamination and panel-wipe sequence before you assume the coating is finished. What happens next tells you which path to take.
- Beading returns after decon and panel wipe: the coating is structurally fine. Apply a booster and get back on your normal wash routine.
- Beading and gloss don’t return even after proper decon and an isopropanol wipe: the coating has likely broken down at the structural level, and it’s time to plan a full correction and recoat.
- Recoating requires stripping the old coating first, typically through polishing or a dedicated coating-remover step, since new ceramic product won’t bond properly over a degraded existing layer.
- Application conditions matter: most coatings need a controlled temperature range and low humidity to cure properly, which is one more reason this step usually goes to a professional rather than a home garage.
Real-world lifespan varies enormously by product and use case. A prosumer coating applied by a professional on a garage-kept car can last multiple years with proper maintenance, while a DIY consumer kit on a daily driver parked outside might realistically hold up for six to twelve months before it needs real attention. Set your expectations based on which category your setup actually falls into, not the marketing claim on the bottle.
What a Professional Maintenance Visit Includes
A typical professional maintenance visit bundles several of the steps covered above into one session: iron decontamination, clay treatment, an inspection under proper lighting to check for thinning or damaged areas, spot correction where needed, and a fresh booster application to send the car home with strong beading.
- Ask what the visit includes before booking, since “maintenance” can mean anything from a quick booster wipe to a full decon-and-inspect service.
- Request documentation: an invoice with services performed, notes on the coating’s condition, and photos if the shop offers them.
- Keep that documentation. Manufacturer warranty terms often exclude damage caused by improper care, like automatic brush washes or harsh chemicals, and a documented service history can matter if you ever need to file a claim.
- Book an annual visit at minimum, more often for heavy-mileage or coastal vehicles, since consistent professional checkups are strongly linked to coatings hitting their full rated lifespan.
If you’re not sure where to find someone reputable, Mobiledetailing lists local mobile detailing professionals by service area, including shops that specialize in ceramic coating maintenance and correction work.
Your Ceramic Coating Care Checklist
- Weekly or biweekly: two-bucket hand wash with pH-neutral shampoo; remove droppings, sap, and bugs immediately.
- Monthly: run a water bead test and feel for grit on a clean panel.
- Every 3 to 6 months: apply a SiO₂ booster after a wash, sooner in high-UV or high-salt conditions.
- Every 6 to 12 months: full iron decontamination and clay treatment, plus a professional inspection.
- Any time beading fails: wash, decon, isopropanol wipe, retest before assuming you need a recoat.
Book Ceramic Coating Maintenance Through MobileDetailing.io
Most owners don’t need a new coating. They need someone who can decontaminate, inspect, and boost the one they already paid for, and finding that person shouldn’t take an afternoon of scrolling through reviews with no way to compare who actually specializes in coating care.

MobileDetailing.io is a directory built for exactly that search. It connects vehicle owners with local mobile detailing professionals who list their specific services, from ceramic coating maintenance and iron decontamination to full paint correction, so you can compare providers in your area before you commit to anyone. Book a pro for your annual warranty maintenance visit, for heavy contamination you don’t want to tackle in a driveway, or for a proper recoat once decontamination and testing confirm the old coating has run its course. When you contact a provider, ask upfront for an invoice and service notes covering what was done. That paper trail is what protects you if you ever need to lean on a manufacturer warranty. To compare local detailers and request a quote, you can use online platforms that match you with professionals who handle coating maintenance as a regular part of their business.
Sources
- Ceramic Coating Maintenance Guide | Bryan Car Care
- Ceramic Coating Maintenance Schedule + Calculator (Free) | Houseler
- How long does ceramic coating actually last? | CarCareTruth
FAQ
Do Ceramic Coatings Need Regular Maintenance?
Yes. A ceramic coating still needs regular pH-neutral hand washing, periodic decontamination, and occasional booster applications to keep performing at its rated level, since dirt, road film, and UV exposure gradually mask and wear down the protective layer.
Do You Need to Recoat a Ceramic Coating Eventually?
Not necessarily on a fixed schedule. Recoating only makes sense when a proper wash, iron decontamination, and isopropanol panel wipe fail to restore water beading, which signals the coating has broken down structurally rather than just gotten dirty.
What Is the Maintenance Schedule for Ceramic Coating?
The general baseline is a pH-neutral hand wash every one to two weeks, a full decontamination every six to twelve months, a SiO₂ booster every three to six months, and an annual professional inspection, adjusted tighter for heavy commuters or coastal climates.
How Do I Know if My Coating Is Failing vs. Just Dirty?
Run a wash, iron decontamination, and isopropanol panel wipe, then retest beading. If beading returns, the coating is fine and just needed cleaning; if it stays flat, that points to structural failure and a likely recoat.
Can I Use MobileDetailing.io to Find Someone for Coating Maintenance?
Yes. MobileDetailing.io lists local mobile detailing professionals who offer ceramic coating maintenance, decontamination, and correction services, letting you compare providers in your area and request a quote directly.
MobileDetailing.io provides general educational information. Products, surfaces and vehicle finishes vary. Follow manufacturer instructions and consult a qualified detailing professional before using abrasive processes or chemical treatments.