Stop Before You Strip Clear Coat: Clay First Car Overspray Removal
The safest overspray removal car method is claying, not chemicals. Wash the vehicle, confirm the contaminant is overspray with a light touch test, then work a clay bar or clay mitt with lubricant over the affected panels. Escalate to hand or machine polishing only if claying leaves residue behind, and if the overspray is baked-on, industrial, or covers large panels, get a quote from a professional detailer through Mobiledetailing rather than risk the clear coat.
Table of Contents
- Tools and Safety Checklist Before You Begin
- How Do You Remove Overspray From a Car Step by Step?
- When Should You Polish Instead of Just Claying?
- Which Chemical Removers Are Safe for Overspray?
- How Do You Remove Overspray From Glass, Trim, and Chrome?
- When Should You Call a Professional for Overspray Removal?
- Finishing Up: Restoring Shine After Overspray Removal
- Get Matched With a Local Overspray Removal Pro
- Sources
- FAQ
Tools and Safety Checklist Before You Begin
Gather everything before you touch the paint. Rushing into overspray cleaning techniques without the right supplies is how a five-minute job turns into a paint correction bill.
You’ll want:
- pH-neutral car wash soap and a two-bucket wash setup
- Microfiber wash mitt and several clean drying towels
- A fine or medium-grade clay bar or synthetic clay mitt
- Clay lubricant or a quick detailer spray (never dry-clay)
- Nitrile gloves and eye protection
Optional gear comes into play only if claying doesn’t finish the job: a finishing polish, a dual-action (D.A.) polisher, or a dedicated automotive overspray remover. Work in a shaded, cool area, since direct sun makes lubricants evaporate too fast and can bake residue harder onto the panel. Always run a test patch on a small, low-visibility spot first, and mask off rubber seals and trim before using any solvent.
Pro Tip: Keep a spray bottle of plain water nearby. If a lubricant starts drying out mid-panel, a quick mist buys you a few more passes before you have to reapply.
How Do You Remove Overspray From a Car Step by Step?
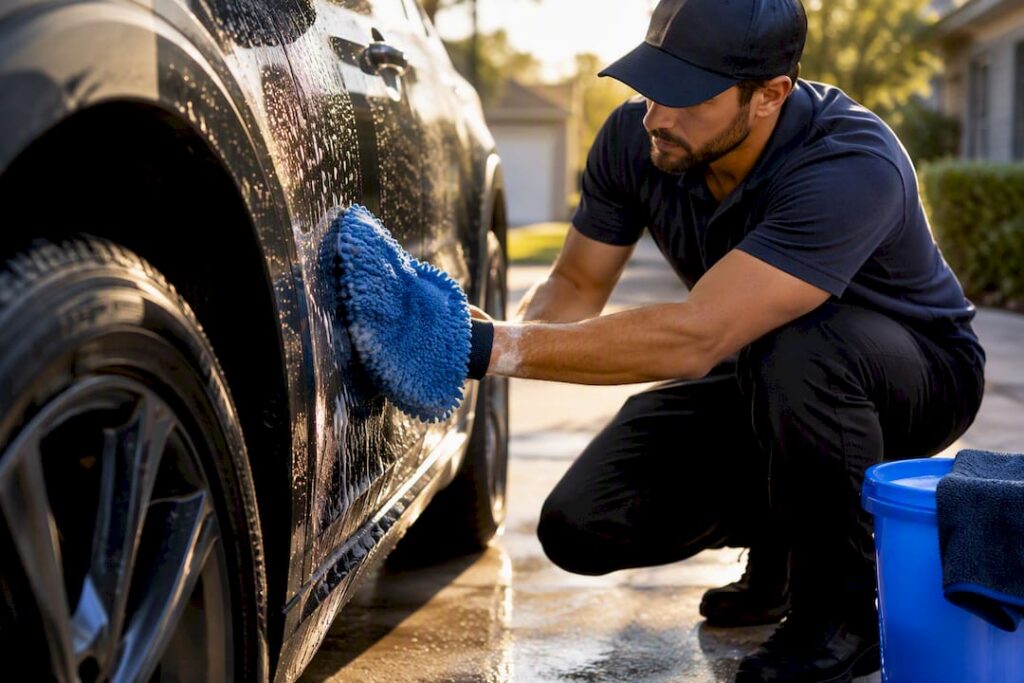
1. Wash the car first. Overspray removal fails more often from skipped prep than from the wrong product. A two-bucket wash lifts loose grit that would otherwise grind into the finish once you start claying, and it lets you see the actual overspray pattern instead of guessing under a layer of road film.
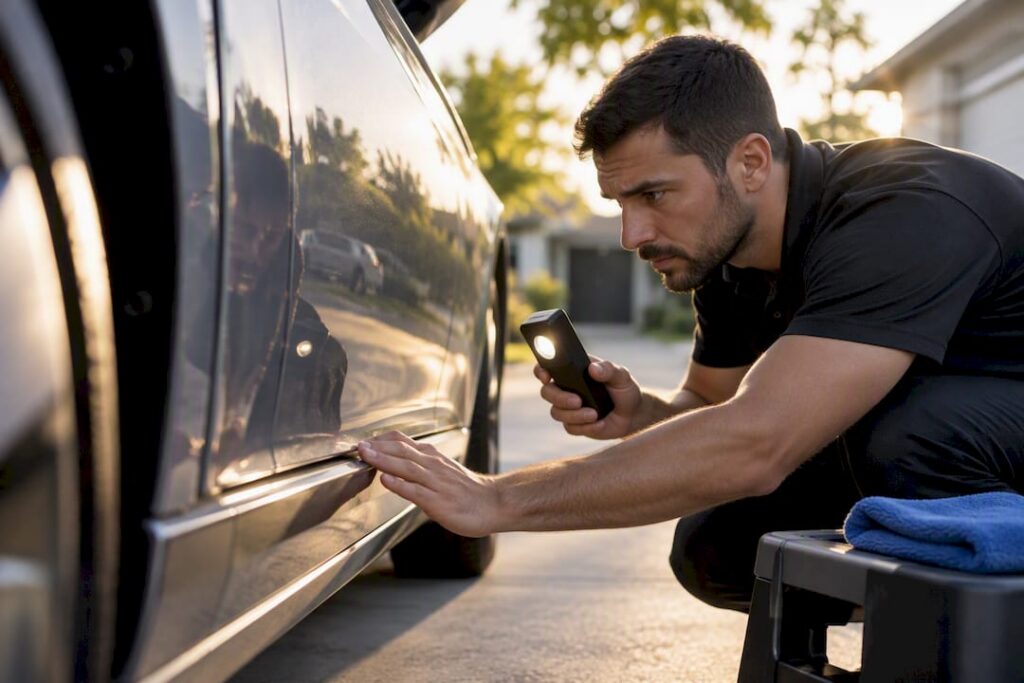
2. Confirm what you’re dealing with. Slide a plastic sandwich bag over your fingertips and run it across the panel. Overspray feels like fine sandpaper or scattered grit under the bag. Smooth spots with visible discoloration are more likely embedded contamination or a different stain entirely, which changes your approach.
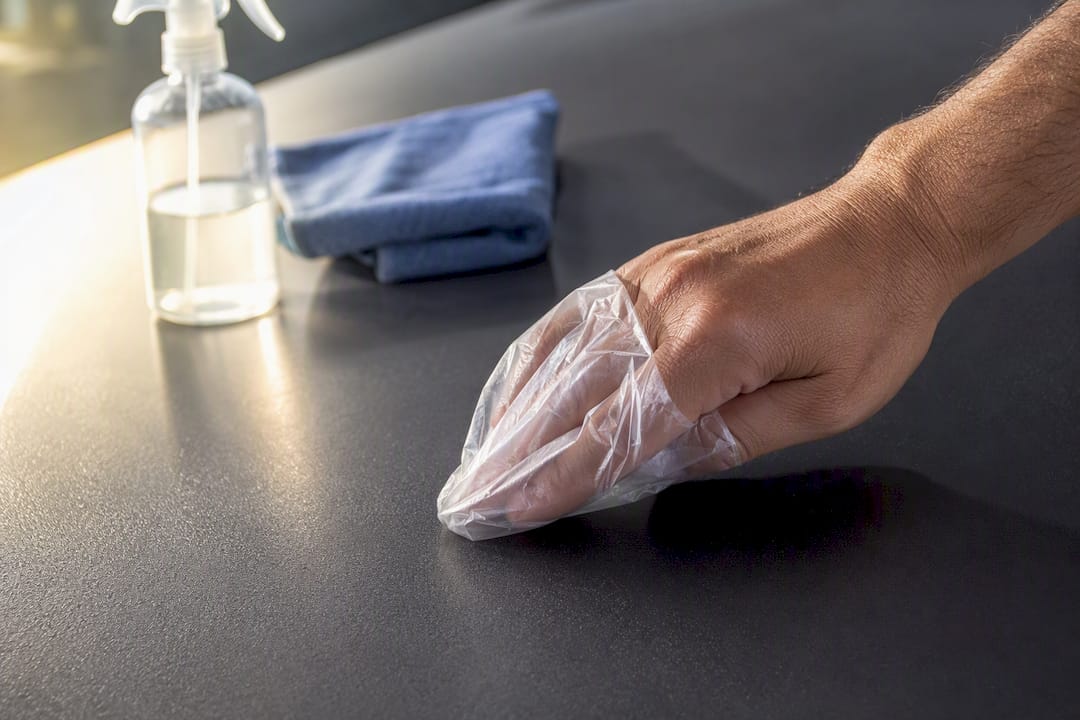
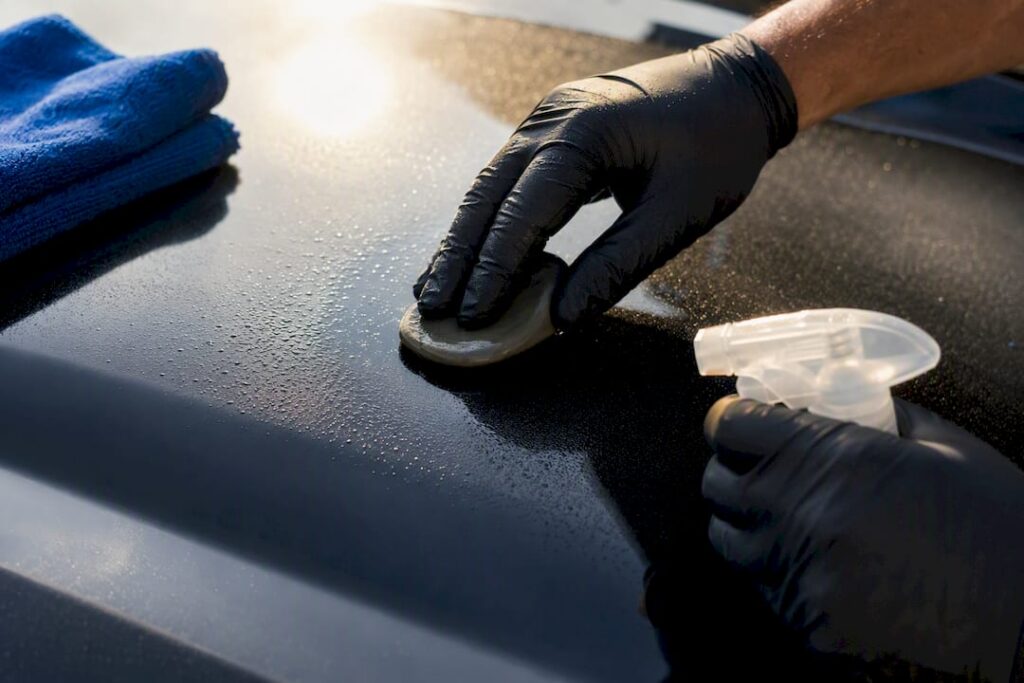
3. Saturate and clay in straight lines. Spray the panel generously with clay lubricant, flatten the clay into a disc, and glide it in straight, overlapping lines rather than circles. Work one 12 inch by 12 inch section at a time so the lubricant never dries mid-pass. Fold the clay to a clean face every few swipes and rinse it in a separate bucket. If the clay picks up more grit than it can hold, it starts dragging, which is the surface telling you to fold or replace it.
4. Verify and move on. Wipe the section dry and run your bagged hand over it again. Properly clayed paint feels glass-smooth with no texture at all. If it’s still slightly rough after two or three passes, stop claying that spot and consider escalation rather than grinding away at it.
Following an “least aggressive first” sequence like this matches the wash-then-clay approach outlined in an OEM/NHTSA bulletin referencing a Meguiar’s overspray protocol, which treats claying as the default first step before any mechanical correction.
Pro Tip: Dry claying or reusing a dirt-loaded clay bar is the single most common cause of new swirl marks. When in doubt, add more lubricant.
When Should You Polish Instead of Just Claying?
Polishing comes next only if claying leaves faint marring or a few stubborn spots the clay couldn’t shear off. For hand application, a light cutting polish and a foam applicator pad handle small areas without much risk. For anything wider than a dinner plate, a dual-action polisher spreads the work evenly and heats the surface far less than a rotary buffer.
Rotary buffers remove clear coat fast in the hands of someone without training, which is why they belong with professional technicians, not weekend detailing. I-CAR’s technical guidance on overspray removal backs the same principle used across collision repair: use the least aggressive method that solves the problem, and don’t reach for a more powerful tool just because it’s faster.
Clear coat has a finite thickness, and every polishing pass removes a small amount of it permanently. OEM guidance built around this reality sets conservative limits, generally cautioning against excessive clearcoat removal through wet-sanding beyond safe limits, and treats that step as something only a trained technician should attempt with thickness-gauge verification.
Watch for these signs you’ve hit your limit:
- Overspray remains after two full clay passes and a light polish
- The affected area covers multiple panels rather than a few spots
- You notice the clear coat starting to feel thin, hazy, or uneven under a light
If any of those apply, stop. A professional estimate at that point costs far less than fixing a burned-through clear coat.
Which Chemical Removers Are Safe for Overspray?
Chemicals should be your third option, not your first, for car paint overspray solutions. Start mild and only move up if the milder product genuinely fails.
- Isopropyl alcohol diluted roughly 50/50 with water softens fresh, water-based overspray in many cases and is gentle enough for a spot test on clear coat.
- Automotive adhesive and overspray removers formulated specifically for paint are the next step; they’re built to dissolve overspray bonds without attacking cured clear coat, though product labels often warn against use on raw plastic or freshly painted panels.
- Mineral spirits work on some oil-based paints but need a quick follow-up wash to avoid leaving a film.
- Acetone and lacquer thinner should not be your default reach. Both can etch or strip factory clear coat, and what looks like a fast fix can turn into a bare, dulled patch that only repainting fixes.
Apply any solvent with a microfiber cloth on a small test area first, keep dwell time short, and wipe and rinse immediately rather than letting it sit. Wear nitrile gloves and work in a ventilated space, since fumes from stronger removers build up fast in an enclosed garage.
How Do You Remove Overspray From Glass, Trim, and Chrome?
Painted panels and non-painted surfaces don’t play by the same rules, and using clay or solvent in the wrong place causes its own damage.
- Glass responds best to a fresh single-edge razor blade held nearly flat against the surface with plenty of lubricant, a technique that clears overspray from windshields and windows faster and more safely than any chemical.
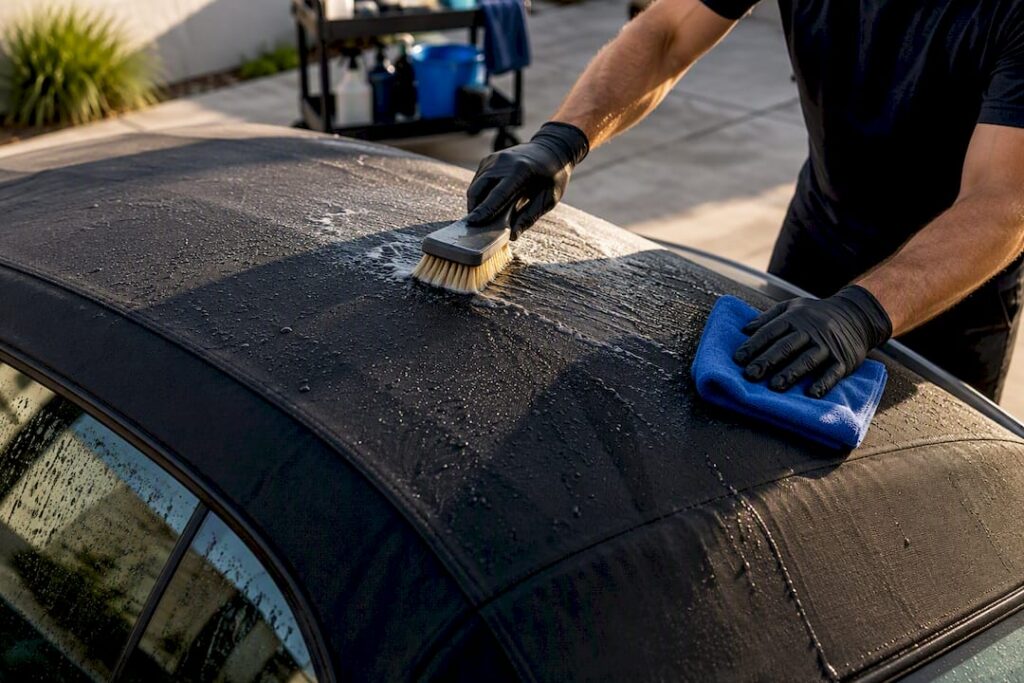
- Textured plastic trim should skip clay entirely. A soft brush with a mild all-purpose cleaner lifts overspray without the whitening or drying that solvents cause on unsealed plastic.
- Chrome and metal trim clean up with a dedicated metal polish and a microfiber towel. Abrasive pads scratch chrome permanently, so keep them away from it.
- Headlights and lenses need plastic-safe polishing compounds made for polycarbonate. If the lens looks hazy or cloudy after removal, that’s usually oxidation rather than overspray, and it calls for professional headlight restoration.
Pro Tip: Test any new blade on a corner of glass you rarely look at. A nicked blade edge scratches glass the same way a dull one drags.
Similar care applies to other stubborn exterior contaminants. If baked-on residue from tree sap or bug splatter is mixed in with the overspray, treat those spots with the same test-first approach before reaching for anything abrasive.
When Should You Call a Professional for Overspray Removal?
Some jobs are bigger than a weekend and a bottle of clay lubricant. Heavily cured industrial overspray, coverage across multiple panels, or a surface that shrugs off both claying and light polishing are the clearest signs to stop the DIY approach. Professional overspray removal services exist specifically because identifying the contaminant chemically and correcting it by hand, without over-thinning the clear coat, takes equipment and experience most garages don’t have.
A qualified detailer brings paint thickness gauges, contaminant-specific chemistry, and controlled compounding equipment that a bottle of dedicated overspray remover can’t replicate. Before hiring anyone:
- Photograph the affected panels so you have a record of the damage
- Get two or three estimates and ask specifically about their process
- Confirm they start with the least aggressive method rather than jumping straight to compounding
- Ask for before-and-after photos of similar overspray jobs
Mobiledetailing connects vehicle owners with local mobile detailers who list overspray removal and paint correction among their services, so you can compare providers near you and request quotes instead of guessing over the phone.
Finishing Up: Restoring Shine After Overspray Removal
Claying and polishing strip away more than overspray. They remove the layer of wax or sealant that was protecting the paint, leaving bare clear coat exposed. Skipping this step means the next round of airborne contaminants bonds even faster than the first.
- Apply a wax, paint sealant, or ceramic coating right after claying or solvent work to rebuild that barrier.
- Run a light finishing polish first if you notice fine marring, then follow with your protective product of choice; the goal is smoothness before shine.
- Avoid parking near active spray-painting, sandblasting, or construction sites when you can help it, and if you’re regularly exposed to a nearby job site, a few photos of the work in progress can support a claim if overspray reappears.
Maintained protection doesn’t just look better. It gives future overspray less to grip onto, which makes the next cleanup faster.
Get Matched With a Local Overspray Removal Pro
Some overspray jobs are a Saturday afternoon with a clay bar. Others need someone with a thickness gauge, the right chemistry, and steady hands on a machine polisher, and getting that wrong costs a lot more than the job would have. Mobiledetailing exists for that second case. It’s a free directory that connects vehicle owners to mobile detailing professionals who list paint correction, overspray removal, and ceramic coating right in their service profiles, so you’re not calling shops blind or hoping a stranger’s van shows up on time.

Search by location, compare listed services and reviews, and see who in your area actually specializes in overspray and paint correction rather than just basic washes. If your car’s overspray is beyond what claying and a careful polish can fix, Mobiledetailing and describe the damage before you commit to any single provider.
Sources
- Overspray Removal (OEM/NHTSA bulletin referencing Meguiar’s protocol)
- I-CAR technical guidance on overspray removal
- Safe overspray removal: pro tips & why not to DIY | Nationwide Overspray
FAQ
Does WD40 Remove Overspray?
WD40 can loosen some fresh, light overspray as a lubricant, but it’s not formulated for paint decontamination and can leave an oily film that interferes with wax or sealant adhesion. A clay bar with proper clay lubricant remains the safer, more reliable first choice.
What Can I Use to Remove Paint Overspray From My Car?
Start with a clay bar or clay mitt and lubricant, since that handles most light-to-moderate overspray without risking the clear coat. If residue remains, move to a light polish, then a dedicated automotive overspray remover, saving stronger solvents for last.
Will Goo Gone Remove Overspray?
Goo Gone and similar adhesive removers can help with sticky residue but aren’t designed specifically for cured paint overspray, and some formulas carry label warnings against use on certain plastics or fresh paint. A product made specifically for automotive overspray removal is the better bet, applied after a spot test.
Will Acetone Remove Overspray From a Car?
Acetone can dissolve overspray, but it’s aggressive enough to etch or strip clear coat, and it’s not a recommended DIY solvent for painted panels. Isopropyl alcohol diluted with water is a much safer starting point, with acetone left out of the consumer toolkit entirely.
When Should I Stop DIY Removal and Call a Detailer?
Stop if overspray covers multiple panels, feels cured or baked-on, or resists both claying and a light polish after a couple of attempts. At that point, a professional with paint thickness measurement tools can correct the damage without the guesswork.
MobileDetailing.io provides general educational information. Products, surfaces and vehicle finishes vary. Follow manufacturer instructions and consult a qualified detailing professional before using abrasive processes or chemical treatments.