Fix Sap Before It Etches: Safe Sap Removal for U.S. Car Paint
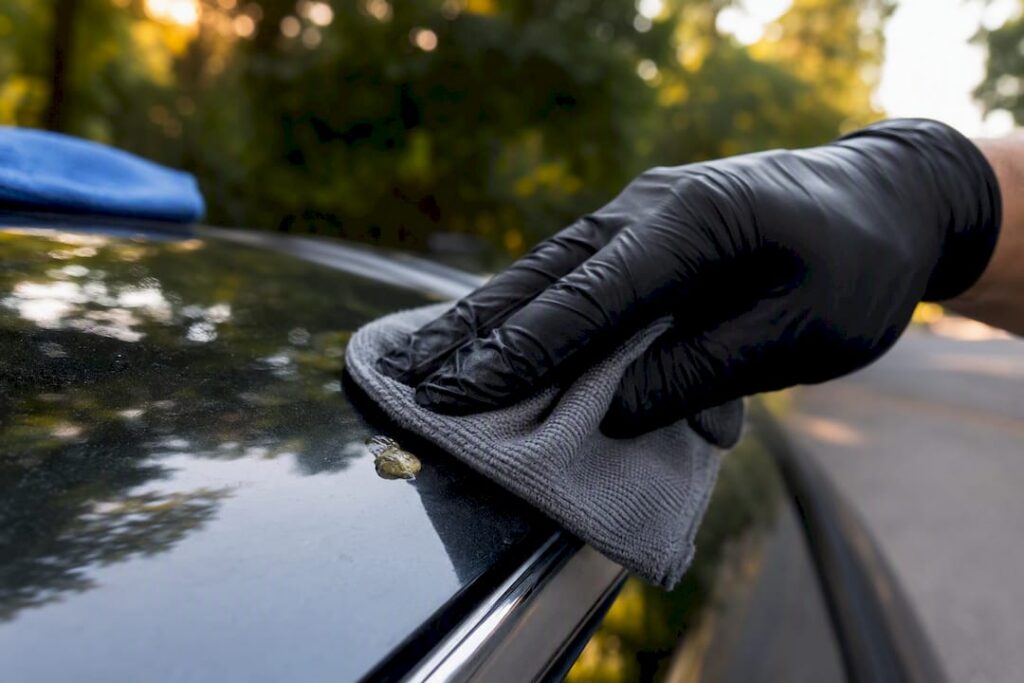
Fresh tree sap comes off with warm soapy water and a microfiber towel, no special products needed. Sticky, days-old sap needs isopropyl alcohol or a dedicated automotive sap remover followed by a rewash and rinse. If the sap has baked into hard, amber nubs or etched the clear coat, stop scrubbing and call a professional detailer before you turn a sticky spot into a repair bill.
Table of Contents
- How to Tell If Sap Is Fresh, Sticky, or Baked On
- Step-by-Step DIY Methods for Removing Sap From Car Paint
- Products and Techniques That Damage Car Paint
- When Should You Call a Professional Detailer?
- How to Protect Your Paint From Future Sap Damage
- How Professionals Handle Tough Sap Cases
- Book a Local Mobile Detailer Through MobileDetailing.io
- Sources
- FAQ
How to Tell If Sap Is Fresh, Sticky, or Baked On
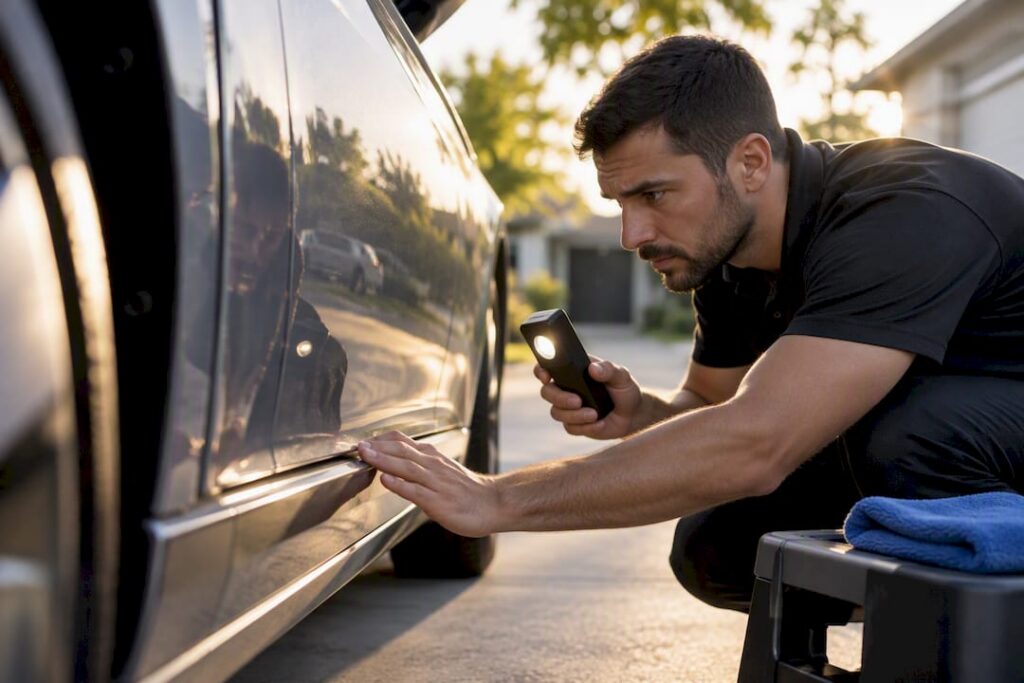
Run a fingertip test before you reach for anything. Fresh sap smears and feels tacky but doesn’t hold its shape. Sticky sap has started to firm up. It pulls at your finger like gum and leaves a slight residue. Baked-on sap feels hard, sits proud of the paint like a small bump, and won’t budge under light fingernail pressure.
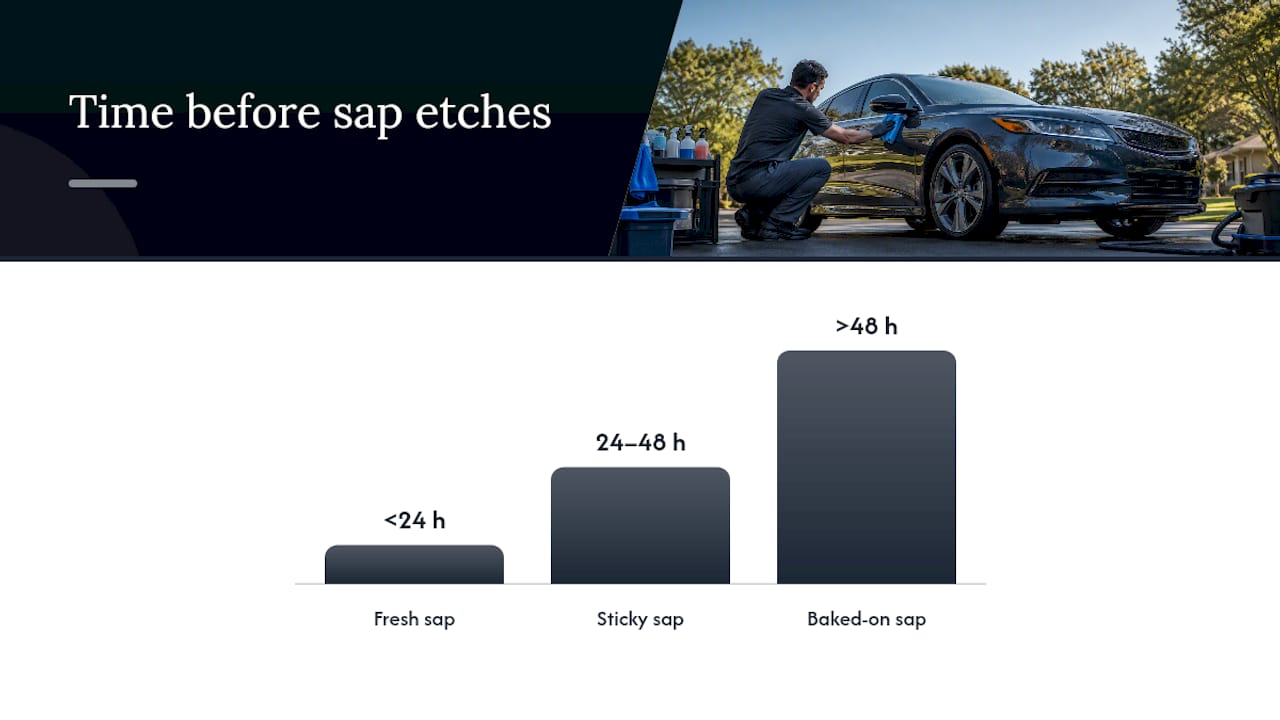
The clock matters more than most people realize. Tree sap is essentially a resin, and resin bonds chemically with clear coat the longer it sits and the hotter it gets. Sap that lands on your hood in the morning and bakes under afternoon sun can start etching the clear coat within 24 to 48 hours, especially in direct summer heat. Cooler, shaded conditions buy you more time, but not much more.
Matching the method to the stage keeps you from doing damage while trying to fix a cosmetic problem:
- Fresh (smears easily): Warm water and car shampoo, nothing stronger.
- Sticky (tacky, a day or two old): Isopropyl alcohol or a dedicated sap remover with a short dwell time.
- Baked on (hard, raised, resists a fingernail): Chemical solvent plus clay bar, and possibly professional polishing if it has already etched the surface.
Guessing wrong in the aggressive direction, using a scraper on fresh sap or skipping straight to solvents on a light smear, is how DIY jobs turn into swirl marks and dull spots.
Step-by-Step DIY Methods for Removing Sap From Car Paint
Work from the gentlest method up. If a mild step clears the sap, stop there. There’s no reason to hit your paint with alcohol or solvent when soap and water would have done the job.
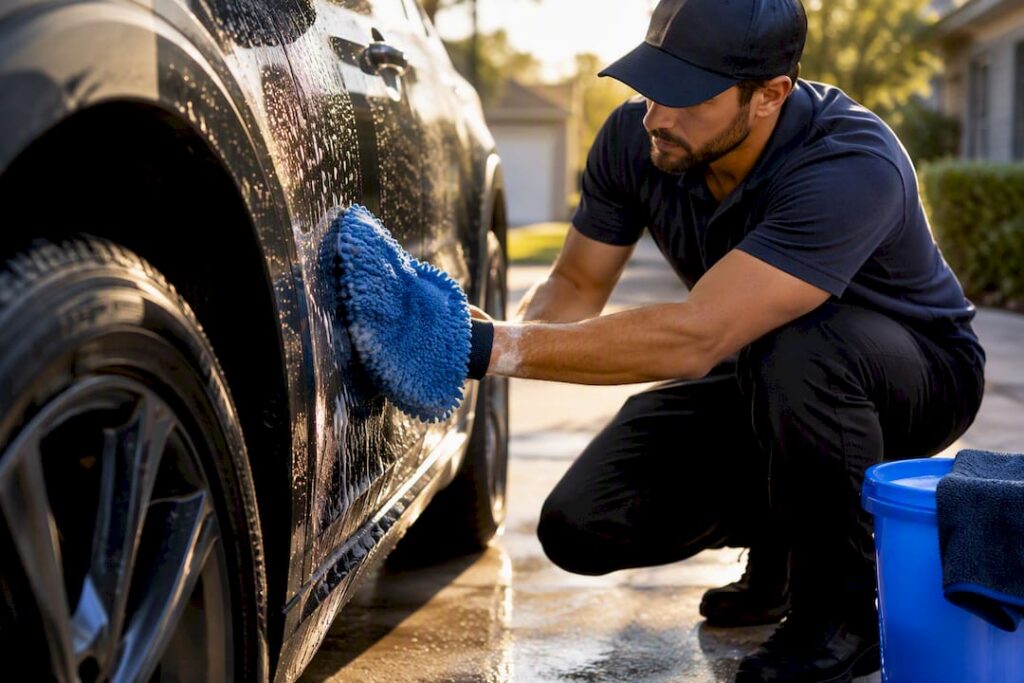
- Start with warm, soapy water. Use a pH-neutral car shampoo, not dish soap, mixed into a bucket of warm water. Soak a microfiber towel, lay it over the sap for two or three minutes to soften it, then wipe with light pressure in straight lines. Rinse and dry with a clean microfiber towel.
- Step up to isopropyl alcohol or hand sanitizer. If soap alone doesn’t cut it, dampen a microfiber cloth with isopropyl alcohol (a 50/50 mix with water is gentler on paint) or use a dab of gel hand sanitizer, which contains alcohol in a controlled, less-drippy form. Press it onto the sap for 30 to 60 seconds to let it soften, then wipe gently rather than scrub. Follow immediately with a soap-and-water wash to clear any residue.
- Reach for a dedicated automotive sap remover. Products formulated specifically for sap and tar are built to dissolve resin without stripping clear coat the way harsher solvents can. Look for labeling that specifies safe use on clear coat, apply according to the dwell time on the bottle, usually a minute or two, and wipe with a soft microfiber towel. Citrus or terpene-based formulas fall into this category and are generally regarded as a safer middle ground between mild soap and aggressive solvents.
- Use a clay bar for leftover texture. If the sap is gone but the spot still feels rough or gritty under your fingertips, a clay bar lubricated with a clay lubricant or diluted car shampoo lifts bonded residue without scratching. Work a small section at a time, keep the surface wet, and fold the clay to a clean side often. Clay bars aren’t meant for large areas or heavy contamination. If you’re claying more than a panel or two, that’s a sign the job may be bigger than a quick fix.
- If you try WD-40, clean up fully afterward. WD-40 and similar penetrating oils can loosen sap in a pinch, but they leave an oily film that attracts dust and, like most petroleum products, can strip wax if left sitting. Treat it as an emergency-only option, wash the area thoroughly right after, and rewax before parking the car outside again.
Pro Tip: Keep a small “sap kit” in your trunk: a travel-size car shampoo, a microfiber towel, and a bottle of dedicated sap remover. Treating a fresh spot the same day beats discovering a hardened nub three weeks later.
Products and Techniques That Damage Car Paint
Some of the most common home remedies for tree sap car damage do more harm than the sap itself. Acetone, nail polish remover, gasoline, and paint thinner all break down more than resin. They can cut straight through clear coat, dull the finish, and in some cases soften surrounding trim and plastic. Citrus solvents sound gentler because of the branding, but concentrated versions carry similar risk if left on too long.
Dawn dish soap sits in a gray area. It cuts through sap effectively in a one-time triage situation, but it’s not meant for regular car washing because its surfactants strip wax and paint sealants along with the grime. Use it once if that’s what’s on hand, then plan to rewax.
Mechanical shortcuts cause their own damage:
- Razor blades and metal scrapers dig into clear coat and leave fine scratches even when handled carefully.
- Ice cubes make sap brittle enough to “pop off,” but chipping at brittle resin usually gouges the paint underneath it.
- Aggressive scrubbing with anything but a microfiber towel creates swirl marks that show up under direct sunlight.
After any solvent use, wash the area, clay if it still feels rough, apply a light polish if there’s dullness, and finish with wax or sealant to rebuild the protection you stripped away.
When Should You Call a Professional Detailer?
Some sap situations call for more than a bottle of alcohol and a towel. Watch for these signs that DIY has reached its limit:
- The spot has visibly etched into the clear coat, leaving a dull ring or discoloration even after the sap is gone.
- Sap has baked on for weeks and covers multiple panels rather than one small spot.
- You’re dealing with an older or already-worn clear coat where aggressive scrubbing risks cutting through the finish entirely.
- You’ve already tried a solvent and the area now looks hazy, stained, or unevenly glossy.
Professional detailers handle these cases with pH-balanced sap and tar removers, clay-bar decontamination, and machine polishing calibrated to lift resin without cutting into paint. Severe etching sometimes requires wet sanding or multi-stage polishing, work that should always go to a trained professional rather than a home buffer.
Cost and turnaround depend on how bad the damage is, how many panels are affected, and whether polishing is needed on top of basic removal. A single spot of fresh sap on one panel is a quick, low-cost fix; multiple baked-on areas needing polish and re-sealing take longer and cost more. Treat any online price as a rough example rather than a quote, since detailing shops price sap jobs based on the specific vehicle and damage.
Before booking, ask what products and methods the detailer uses, whether they inspect for etching before starting, and how they handle it if polishing turns out to be necessary.
How to Protect Your Paint From Future Sap Damage
Getting the sap off is only half the job. Restoring what the removal process stripped away, and making the next sap encounter easier to deal with, matters just as much.
Right after removal, wash the whole panel (not just the treated spot), polish out any dullness, and apply a fresh coat of wax or synthetic sealant. Solvents and clay bars pull off more than sap. They also strip wax, so skipping this step leaves bare paint exposed to UV and the next round of tree drippings.
For longer-term protection, a few habits go a long way:
- Ceramic or SiO2 coatings create a slicker, more chemically resistant surface than wax alone, which tends to make sap sit on top rather than bond in, according to detailer industry observation, easier to wipe off before it hardens.
- Traditional wax still helps and needs reapplying every few months, but it wears faster than a ceramic coating.
- Parking choices matter more than any product. Avoiding spots directly under maple, pine, or sweetgum trees during peak sap season cuts down on exposure entirely.
- A car cover is a low-cost option if shaded parking isn’t available.
- Quick inspection habits help. A weekly glance over the hood and roof catches fresh sap before it has time to bake in the sun.
How Professionals Handle Tough Sap Cases
When sap has been baked on for weeks or has already started etching the clear coat, professional detailers follow a sequence built to avoid making things worse: a solvent softens and re-liquefies the hardened resin, a clay bar lifts what’s left without abrasive scrubbing, and machine polishing corrects any etching once the contamination is fully gone. Trying to skip straight to polishing while sap is still present just grinds hardened resin into the paint.
Mobiledetailing is a nationwide directory that connects vehicle owners with local mobile detailers offering sap removal, paint correction, and protective coatings, searchable by location so you can compare providers near you. Before hiring anyone, ask them to walk you through their process. A detailer who can’t explain what products or steps they use, or who won’t discuss what happens if new damage shows up during correction, is worth a second look before you commit.
Book a Local Mobile Detailer Through MobileDetailing.io
If the sap on your car has moved past a quick soap-and-water fix, or you’d rather not risk a DIY solvent on a car you just leased, a professional can usually finish the job in one visit. Some services connect you with local mobile detailers who handle sap removal, paint correction, and ceramic coatings directly at your home or office.

Requesting a quote typically starts with a quick description of the damage, sometimes a photo, followed by an estimate and a time window for the visit. Detailers assess the panels in person before quoting on anything involving polishing or coating work, since severity varies a lot from car to car. Browse mobile detailing services near you or request a local quote to get your sap problem handled by someone who does this for a living.
Sources
Facts on bonding timelines and clear-coat etching come from AutoZone’s DIY guide. Dish soap safety notes come from Kelley Blue Book. Professional protocol details come from Fresh Layer and Major Detailz.
- Is it OK to Wash Your Car With Dish Soap? | Kelley Blue Book
- How Do I Remove Tree Sap From My Car? – AutoZone DIY
FAQ
How Do You Get Dried Sap Off a Car Without Ruining the Paint?
Soften it first rather than scraping. Apply isopropyl alcohol or a dedicated sap remover, let it dwell for a minute or two, then wipe gently with a microfiber towel instead of scrubbing or using a blade.
Does WD-40 Remove Sap From Car Paint?
WD-40 can loosen sap in a pinch, but it leaves an oily residue that needs a full soap-and-water wash and rewax afterward. Treat it as a backup option rather than a first choice.
How Much Does Professional Sap Removal Usually Cost?
Cost depends on how many panels are affected and whether polishing is needed on top of basic removal, so prices vary by detailer and region. Request a quote through Mobiledetailing for an estimate based on your vehicle’s specific damage.
Will Dawn Dish Soap Remove Sap From a Car?
Dawn can break down sap effectively as a one-time fix, but it’s not recommended for regular washing because it strips wax and sealants. If you use it, plan to rewax the area right after.
MobileDetailing.io provides general educational information. Products, surfaces and vehicle finishes vary. Follow manufacturer instructions and consult a qualified detailing professional before using abrasive processes or chemical treatments.