Car Owners: Material First Car Seat Stain Fixes in Five Minutes
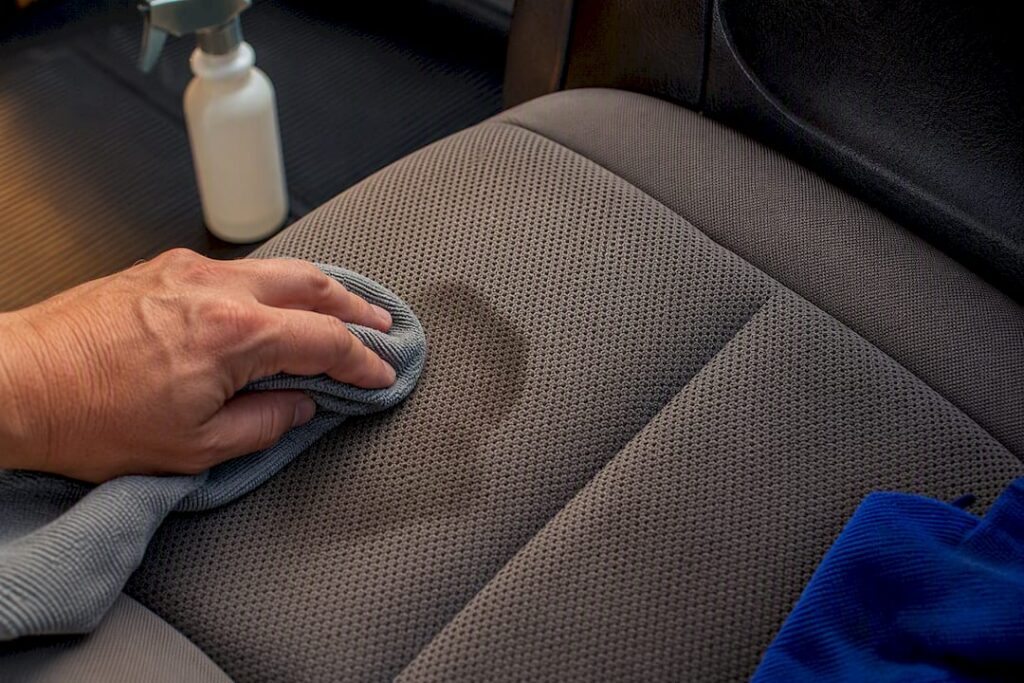
Vacuum first if the mess is dry, blot immediately if it’s wet, and don’t reach for a bottle until you know what you’re cleaning. Most cloth seat stains come out with a dedicated fabric stain extractor, straight-line agitation, and a good blotting pass. Leather needs a pH-balanced cleaner followed by a conditioner, never dish soap or all-purpose spray. Call a professional if the padding underneath is soaked through, an odor keeps coming back after cleaning, or you’re staring at a stain that covers more than a dinner-plate-sized area.
Table of Contents
- Six Steps To Take In The First Five Minutes
- Identify The Material And The Stain Before You Touch A Bottle
- How To Get Stains Out Of Fabric Car Seats
- Cleaning And Conditioning Leather And Vinyl Seats
- Caring For Alcantara And Suede-Style Seats
- What To Keep In Your DIY Car Seat Cleaning Kit
- When A Stain Is Bigger Than A DIY Fix
- Small Habits That Prevent The Next Stain
- The Professional Sequence, Condensed
- Find A Mobile Detailer Who Handles The Stains You Can’t
- Sources
- FAQ
Six Steps To Take In The First Five Minutes
What you do in the first few minutes after a spill matters more than which product you eventually use. Grease sets, dye migrates, and protein stains bond to fibers the longer they sit, so speed beats sophistication here.
- Stop the spread first. Blot from the outer edge of the stain toward the center. Working inward keeps the mess from creeping into clean fabric.
- Vacuum any loose solids before liquid touches the seat. Dirt, crumbs, or dried mud pressed into wet fibers becomes far harder to lift later.
- Blot, don’t rub. Use a clean microfiber towel and press straight down repeatedly. Rubbing grinds the stain deeper and can fray fabric or scuff leather.
- Test any cleaner on a hidden spot first, like the underside of a seat cushion or a rear corner, and wait a minute to check for discoloration or texture change.
- Use liquid sparingly. A few sprays go further than you’d think, and soaking the padding underneath creates a drying and odor problem worse than the original stain.
- Call a professional right away if the cushion is saturated, there’s a lingering odor, or you’re dealing with a biohazardous fluid like vomit or blood. Those situations call for extraction equipment and enzyme treatments most home kits don’t have.
Identify The Material And The Stain Before You Touch A Bottle
Every product recommendation in this guide depends on getting two things right: what the seat is made of, and what caused the stain. Skip this step and you risk discoloring leather, crushing Alcantara nap, or setting a stain permanently with the wrong chemistry.
Start with the material. Check under the headrest or along a seam for a manufacturer tag; if there’s none, run a simple touch test. Leather feels cool and slightly textured with visible grain. Vinyl feels smoother and more uniform, almost plasticky. Cloth has visible weave. Alcantara and suede-style microfiber feel soft with a nap you can brush in different directions. Interior materials vary widely across a single cabin, and each one reacts differently to the same cleaning chemistry, so this five-second check saves you from a costly mistake.
Next, sort the stain by type:
- Oil or grease (fast food, sunscreen, lotion): dark, slightly shiny edges that feel greasy to the touch.
- Protein-based (blood, sweat, vomit, milk): often has an odor and can set into a hard crust.
- Tannin (coffee, tea, wine, soda): brownish or reddish, usually spreads if wet.
- Dye transfer (denim, colored fabric, ink): a defined color bleed with sharp edges.
- Organic/odor-causing (pet accidents, mildew, food residue): smell often outlasts the visible stain.
Pro Tip: Snap a photo of the stain before you start cleaning. If it doesn’t come out on the first pass, you’ll have a “before” reference to judge whether your second attempt actually made progress.
How To Get Stains Out Of Fabric Car Seats
Cloth upholstery is the most forgiving material to work on, and it’s also where most DIY stain removal car seats questions come from. The professional sequence looks like this: vacuum, pre-treat the visible stain, apply a foaming fabric shampoo across the seat, agitate with straight strokes, blot, extract or rinse, then dry and protect.
- Vacuum thoroughly, including the crevice where the seat back meets the cushion. Detailers vacuum before any liquid touches the seat because loose debris pressed into wet fibers becomes nearly impossible to remove afterward.
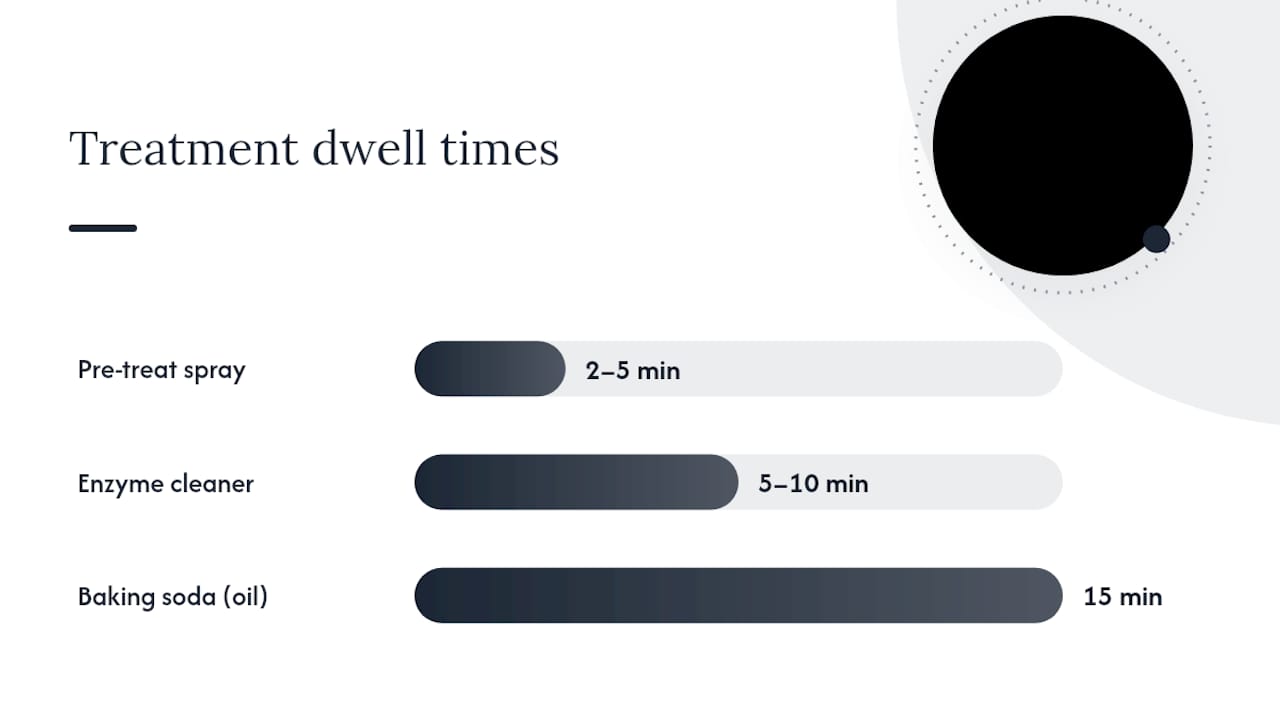
- Pre-treat the stain with a targeted spray, letting it sit for the time the label recommends, usually two to five minutes.
- Apply a foaming fabric shampoo and agitate with a soft brush in straight, overlapping strokes that follow the fabric’s grain. Circular scrubbing grinds contamination deeper instead of lifting it out.
- Blot with a microfiber towel, pressing rather than wiping, until the towel stops picking up color or residue.
- Extract or rinse with a wet vacuum or spray-and-blot method to pull cleaning solution back out along with the loosened stain.
- Let the seat dry fully with windows cracked or a fan running, then apply a fabric protectant once it’s completely dry.
For fresh spills, plain blotting handles most of the work. Baking soda sprinkled on an oil stain and left for fifteen minutes before vacuuming absorbs grease surprisingly well. A diluted mix of white vinegar and a drop of dish soap works on fresh tannin stains like coffee or soda, but test it on a hidden spot first since vinegar can affect certain dyed fabrics.
Set-in stains need patience. An enzyme cleaner or commercial stain extractor with a five-to-ten-minute dwell time, followed by two or three agitation passes, usually breaks down what a single wipe won’t. Some enzyme cleaners also neutralize the bacteria causing odor rather than just masking the smell, which matters for anything protein-based.
A hot-water extractor or steam cleaner speeds up deep cleaning considerably. Extraction injects cleaning solution and immediately vacuums it back out, pulling embedded dirt that scrubbing alone leaves behind. The trade-off is drying time, since extracted seats can take several hours to dry fully compared to a quick spot-clean.
The three mistakes that undo good technique: over-wetting the padding, scrubbing in circles instead of straight lines, and reaching for laundry detergent or bleach, both of which can discolor fabric or leave a residue that attracts new dirt faster than before.
Cleaning And Conditioning Leather And Vinyl Seats
Leather punishes the wrong cleaner faster than any other material in the car. Household glass cleaner, baby wipes, and dish soap all strip the finish or dry out the leather, leading to cracking within months.
The correct sequence: vacuum or wipe down first, apply a pH-balanced leather cleaner sparingly with a soft cloth, agitate gently in small circular motions (leather tolerates this better than fabric does), wipe away residue, then finish with a leather conditioner. Experts recommend cleaning and conditioning as two separate steps because skipping the conditioner is what leads to premature cracking, not the cleaning itself.
- Perforated leather needs minimal liquid. Excess cleaner works its way into the holes and can pool against the foam backing, so spray onto a cloth rather than directly onto the seat.
- Vinyl tolerates a mild all-purpose cleaner better than leather does, but still benefits from a protectant afterward to prevent fading and cracking from UV exposure.
- Avoid solvent-based cleaners and anything containing ammonia on both materials. They break down the protective topcoat over repeated use, even if one application looks fine.
Pro Tip: If a leather cleaner leaves the surface feeling tacky or slightly sticky after it dries, you used too much. Wipe again with a barely damp cloth and let it dry fully before conditioning.
Caring For Alcantara And Suede-Style Seats
Alcantara and suede-look microfiber punish the same over-wetting mistake that fabric forgives more easily, because the nap crushes and mats when it’s soaked. Blot fresh spills immediately with a dry microfiber towel, pressing straight down rather than dragging the towel across the surface.
- For dye-based stains, dab a small amount of isopropyl alcohol on a cloth and test an inconspicuous spot before treating the actual stain.
- Use a suede brush afterward to lift the nap back into its original direction and restore the seat’s texture.
- Skip heavy foams and aggressive scrubbing. Both flatten the pile and can leave visible dark patches where the texture has changed permanently.
- If a stain doesn’t lift after one or two gentle passes, stop. Continued scrubbing risks permanent texture damage that no amount of brushing fixes.
Steam or professional extraction makes sense once a stain resists two DIY attempts, or when the affected area is large enough that spot-cleaning would leave visible water rings. At that point, a controlled, low-moisture professional treatment beats another round of home scrubbing.
What To Keep In Your DIY Car Seat Cleaning Kit
A basic kit handles the vast majority of stains without special equipment. Keep these on hand:
- Microfiber towels (a dozen, since you’ll go through them fast)
- A soft-bristle upholstery brush
- A crevice vacuum attachment
- A spray bottle for diluting cleaners
- An enzyme cleaner for pet and protein stains
- A foaming fabric shampoo for cloth seats
- A pH-balanced leather cleaner and conditioner
- Rubbing alcohol for spot-testing dye stains
- Baking soda for oil absorption
For deep extraction, renting a hot-water extractor from a hardware or grocery store makes more sense than buying one you’ll use twice a year. Renting works fine for occasional deep cleans; buying only pays off if you’re treating multiple vehicles regularly. Whatever you use, read the product label fully before applying it. Some fabric cleaners aren’t rated for leather, and vice versa, and using the wrong one can void whatever protective coating the seat already has.
When A Stain Is Bigger Than A DIY Fix
Some stains are worth handing off, and knowing the line saves you from making a mess worse. Call in a professional if:
- The padding underneath the seat cover feels soaked rather than just damp on the surface.
- An odor returns within a day or two of cleaning, which usually means it’s embedded in the foam, not just the fabric surface.
- You’re dealing with blood, vomit, or another biohazardous fluid that needs proper sanitizing, not just visible cleanup.
- The stain covers a large section of the seat, or you’ve already tried twice without progress.
- There’s real risk of damaging leather, Alcantara, or a factory finish with further attempts.
Professionals bring tools most garages don’t have: hot-water extraction that pulls both the cleaning solution and the stain back out in one pass, controlled drying equipment that prevents mildew, targeted enzyme treatments for odor at the source, and industrial vacuums that reach deeper into seams and padding than a home vacuum can.
If you’ve hit one of these thresholds, requesting quotes through Mobiledetailing connects you with vetted mobile detailers in your area. When you reach out, ask what extraction method they use, how long drying will take, and whether the stain might need more than one treatment. Set-in odor and large biological stains sometimes take two passes even for a pro, so build that into your expectations before you book.
Small Habits That Prevent The Next Stain
Cleaning a stain once is a lot easier than cleaning the same seat five times a year. Once seats are fully dry from any cleaning, apply a fabric protectant on cloth or a conditioner on leather. Both create a barrier that gives you a few extra minutes to blot up the next spill before it sets in.
- Vacuum weekly, even when nothing looks visibly dirty. Loose dirt is what turns a light spill into a ground-in stain.
- Blot spills the moment they happen rather than waiting until you get home.
- Use seat covers or a pet barrier if you regularly haul kids, groceries, or dogs.
- Reapply fabric protectant or leather conditioner every few months, especially on seats that see daily use.
A light interior clean once a month and a deeper clean every one to three months, depending on how hard you use the vehicle, keeps most stains from ever reaching the set-in stage. Some owners also look into interior ceramic coatings for fabric protection, which extend how long a protectant repels liquid before it needs reapplying.
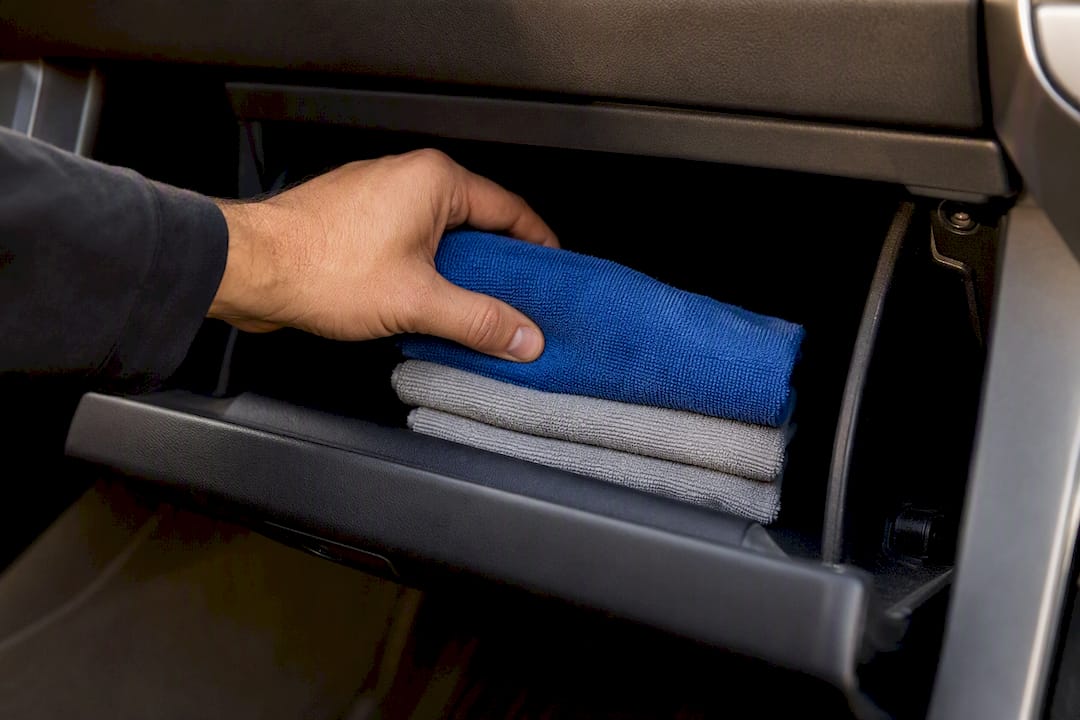
Pro Tip: Keep a small stash of microfiber towels in the glove box. Half of stain prevention is just being able to blot a spill within thirty seconds instead of driving home with it soaking in.
The Professional Sequence, Condensed
Every step in a detailer’s routine exists to solve a specific problem the previous step created or left behind. Vacuuming first prevents grinding debris into wet fibers. Straight overlapping strokes lift contamination instead of spreading it, which is why pros avoid circular scrubbing on fabric. Extraction removes the soap and stain together rather than leaving a residue that attracts new dirt. Full drying before protecting prevents mildew from forming under a sealed layer.
Rinse until the recovered water runs clear. That’s how a professional confirms all the soap and stain residue is actually gone, not just diluted.
- Always test an inconspicuous spot before full application, regardless of material.
- Use straight, overlapping strokes in the direction of the grain, never circles.
- Give extractors and enzyme cleaners their full dwell time before agitating again.
- Dry completely before applying any protectant or conditioner.
Find A Mobile Detailer Who Handles The Stains You Can’t
Some stains, and some seats, are worth handing to someone with the right equipment rather than a second bottle of home cleaner. MobileDetailing.io is a nationwide directory that connects you with local mobile detailing professionals who come to your driveway or office parking lot, so you skip the drop-off-and-wait cycle a shop visit usually means.
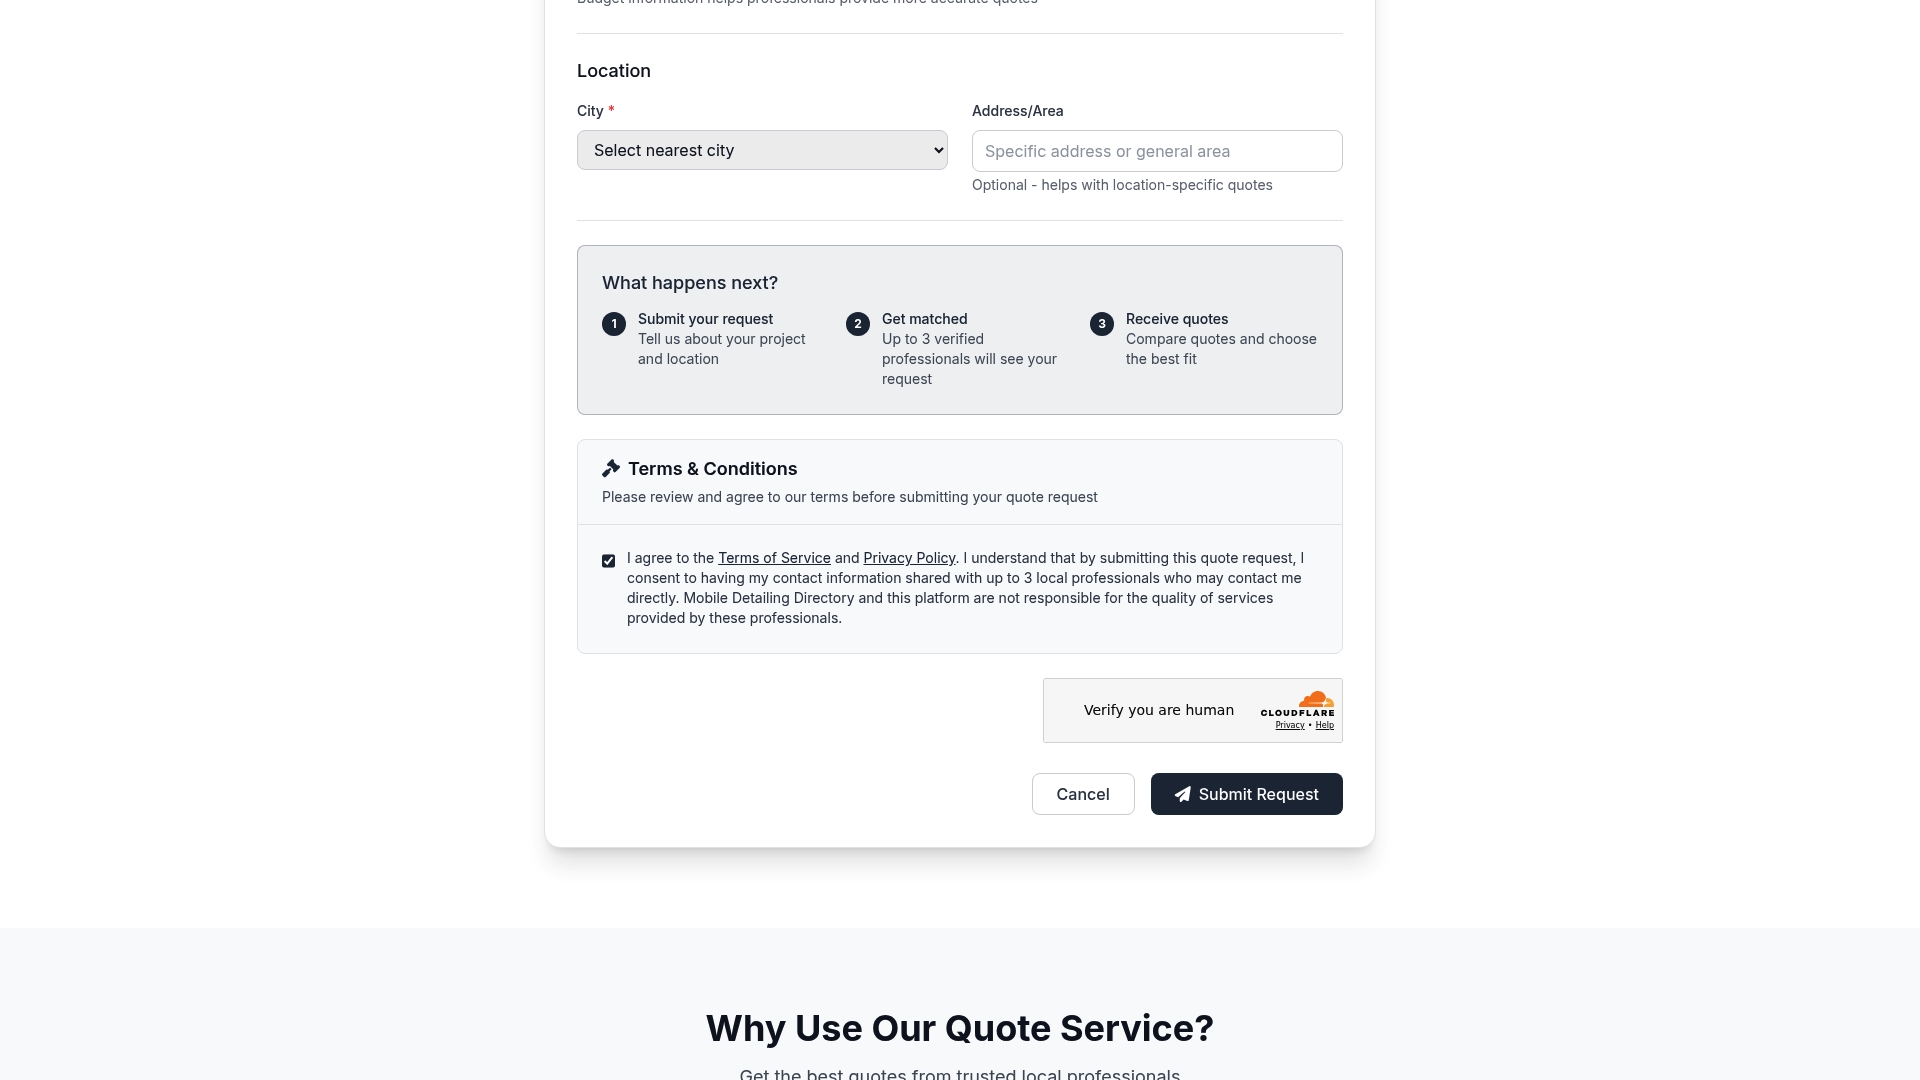
That matters most for exactly the cases covered above: soaked padding, lingering odor, biohazardous cleanup, or leather that’s already showing signs of a bad DIY attempt. Search by location on MobileDetailing.io, compare local businesses by their services and reviews, and see what interior detailing and stain removal actually involves at each listing. When you’re ready, request a local quote and describe the stain, the material, and how long it’s been there. Most detailers will ask for a photo before quoting, so having one ready from your own inspection speeds things up considerably.
Sources
- How to Clean Your Cloth and Fabric Car Seats | Chemical Guys
- How to clean car seats like a pro | Good Housekeeping
- The Ultimate Guide: How to Clean Car Upholstery Like a Professional Detailer – Varkion Blog
- Interior car detailing: from basic cleaning to extreme restoration (Wings Mobile Detailing)
FAQ
How do you get tough, set-in stains out of car seats?
Apply an enzyme cleaner or commercial fabric stain extractor and let it sit for its full dwell time, usually five to ten minutes, then agitate with straight overlapping brush strokes and blot thoroughly. Repeat two or three times before concluding the stain won’t lift with DIY methods.
Can I use Dawn dish soap to clean car seats?
Dish soap can work in a pinch on fabric for a quick fresh spill, heavily diluted, but it’s not formulated for upholstery and can leave a residue that attracts dirt. On leather, avoid it entirely since it strips the natural oils that a pH-balanced leather cleaner is designed to preserve.
What is a good stain remover for car seats?
For cloth seats, a foaming fabric shampoo or enzyme-based cleaner paired with agitation and blotting handles most stains. For leather, use a dedicated pH-balanced leather cleaner followed by a conditioner rather than a general-purpose fabric product.
How can I remove pet stains and hair from car seats?
Vacuum with a crevice tool or rubber brush attachment to lift embedded pet hair before applying any liquid, then treat urine or drool stains with an enzyme cleaner that breaks down the odor-causing bacteria rather than masking the smell. A rubber-bristle brush or slightly damp rubber glove often pulls out more hair than a standard vacuum alone.
When should I stop trying DIY and call a professional detailer?
Call a professional once the padding underneath feels soaked, an odor returns after cleaning, the stain involves blood or vomit, or you’ve made two real attempts without progress. A detailer found through Mobiledetailing can bring hot-water extraction and enzyme treatments that reach deeper than most home kits.
MobileDetailing.io provides general educational information. Products, surfaces and vehicle finishes vary. Follow manufacturer instructions and consult a qualified detailing professional before using abrasive processes or chemical treatments.