Boat Owners: 3-Tier Gelcoat Oxidation Removal Plan to Avoid Overcutting
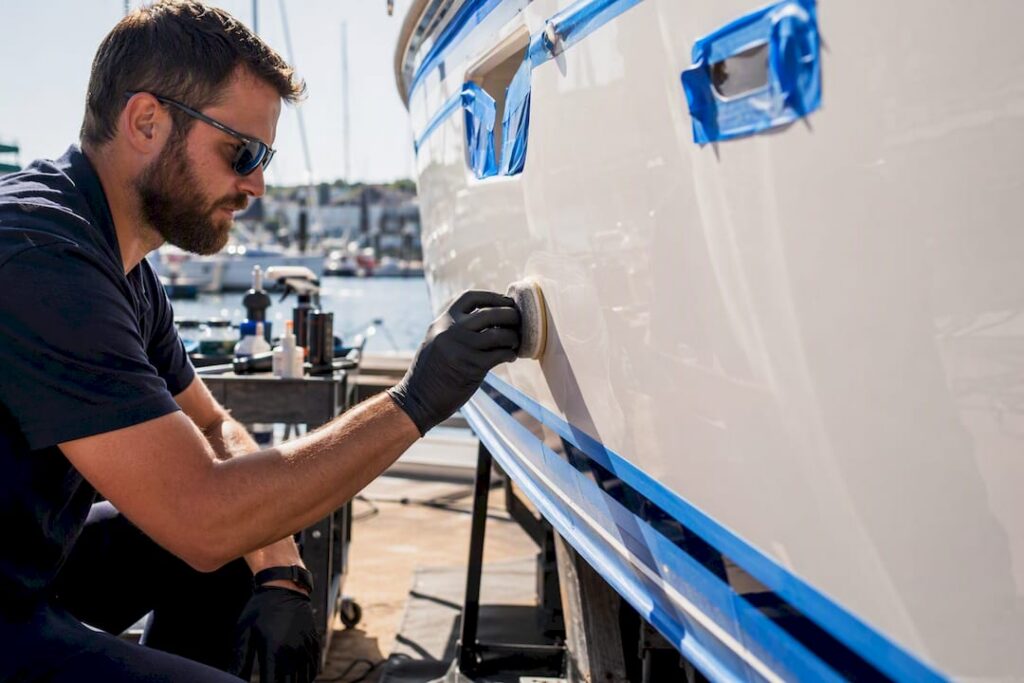
Wash the hull first, then inspect it in direct sunlight to gauge how bad the chalking really is. Test a small, hidden area before committing to a full-panel process, and match your method to what that test spot reveals: cleaner-wax for light haze, an oxidation remover or compound for moderate chalking, and wet sanding paired with rotary compounding for heavy, years-old oxidation. Protect the finish immediately once you’re done correcting it.
TL;DR:
- Use a small, hidden test spot to determine whether light cleaning, oxidation removal, or heavy sanding and compounding are necessary for the severity of chalking.
- Mismatching product strength to oxidation level can cause damages like gelcoat thinning or exposed fiberglass; proceed with caution and proper matching.
- Wet sanding is a last resort for severe, uneven chalking, requiring careful grit progression and professional assessment to avoid removing too much material.
- Protect the gelcoat with a suitable coating—wax, sealant, or ceramic—considering the exposure duration and conditions, and always apply in shade for better results.
- If blistering, crazing, or exposed laminate appears, or if uncertainty persists after testing, hiring a professional can prevent costly errors and damage.
Table of Contents
- How Do You Inspect Gelcoat and Prepare for Oxidation Removal?
- Which Machines and Products Match Each Oxidation Level?
- What’s the Step-by-Step Process for Gelcoat Oxidation Removal?
- When Should You Wet Sand Gelcoat, and How Do You Do It Safely?
- How Do You Remove Holograms and Choose Long-Term Protection?
- What Are the Warning Signs You’ve Gone Too Far?
- Why Do Professionals Follow a Staged Correction System?
- What This Restoration Process Actually Teaches You
- Get a Professional Quote for Gelcoat Restoration
- Where This Article’s Technical Guidance Comes From
- Sources
- FAQ
How Do You Inspect Gelcoat and Prepare for Oxidation Removal?
Gelcoat oxidation happens because ultraviolet light breaks down the resin at the surface, leaving behind a chalky, dull layer that will not rinse away no matter how hard you scrub. Washing removes surface contamination, not the oxidized layer itself — that requires actual abrasion, whether from a light cleaner-wax or a heavier compound. Before you touch a machine, you need to know what you’re dealing with.
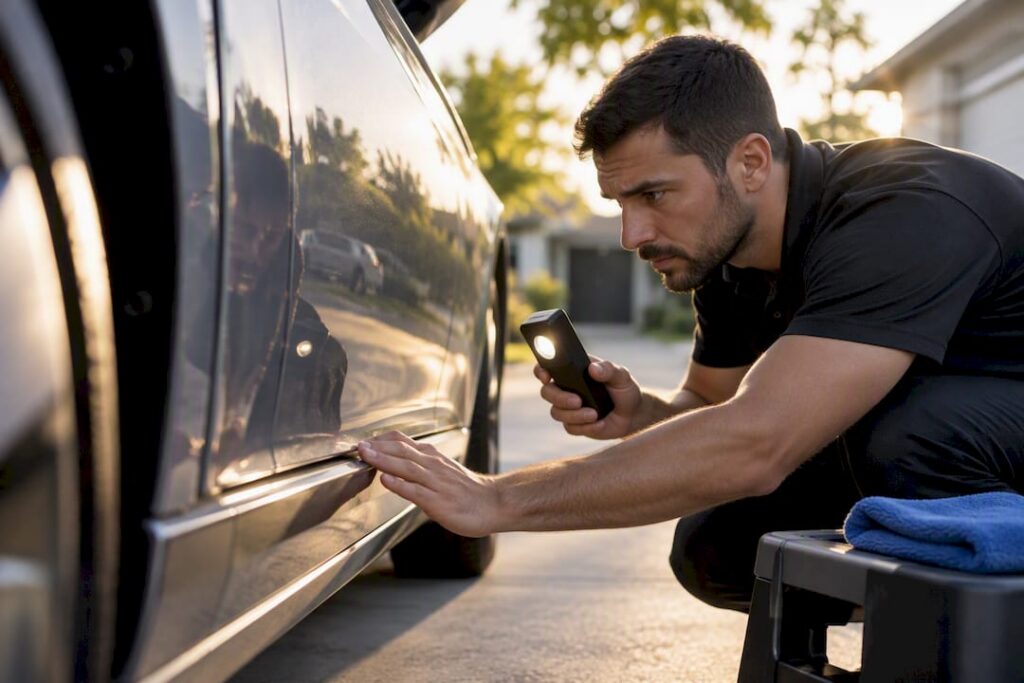
Run your palm across a dry section of hull, then wipe it with a white microfiber towel. Chalky residue transferring onto the towel confirms oxidation. Look closer for these warning signs, since they change your entire approach:
- Crazing — spiderweb cracks in the gelcoat that signal brittleness and stress, often from age or flexing.
- Blisters — raised bumps that mean moisture has gotten under the gelcoat layer, sometimes into the laminate itself.
- Thin or worn edges, especially around rub rails, hull seams, and prior repair patches, where gelcoat is frequently thinner than the surrounding field.
- Exposed laminate or fiberglass fibers, visible as a rough, fuzzy texture rather than smooth chalk.
- Prior repair zones that may use a different gelcoat formulation or thickness than the original hull.
If you see exposed laminate, active blistering, or crazing that runs deep, stop. Compounding over failing gelcoat or exposed fiberglass will not restore anything. It just grinds through what little protective material remains, and at that point you need a marine professional to evaluate whether the area needs a gelcoat repair before any polishing happens.
Set up your workspace with shade if you can get it. Direct sun heats the gelcoat surface and speeds up product dry-down mid-application, which causes streaking and uneven cutting. Work in temperatures between roughly 50°F and 85°F when possible, and avoid compounding a hull that’s too hot to touch comfortably.
Wear safety glasses or a face shield, chemical-resistant gloves, and a respirator or well-fitted dust mask any time you’re sanding or machine-compounding, since airborne gelcoat dust and aerosolized polish are both worth keeping out of your lungs. Mask off hardware, rub rails, decals, and waterline stripes with quality painter’s tape before you start.
Pro Tip: Photograph problem areas before you start correcting. It’s far easier to track whether crazing or a soft spot is spreading over the season when you have a “before” reference to compare against.
Which Machines and Products Match Each Oxidation Level?
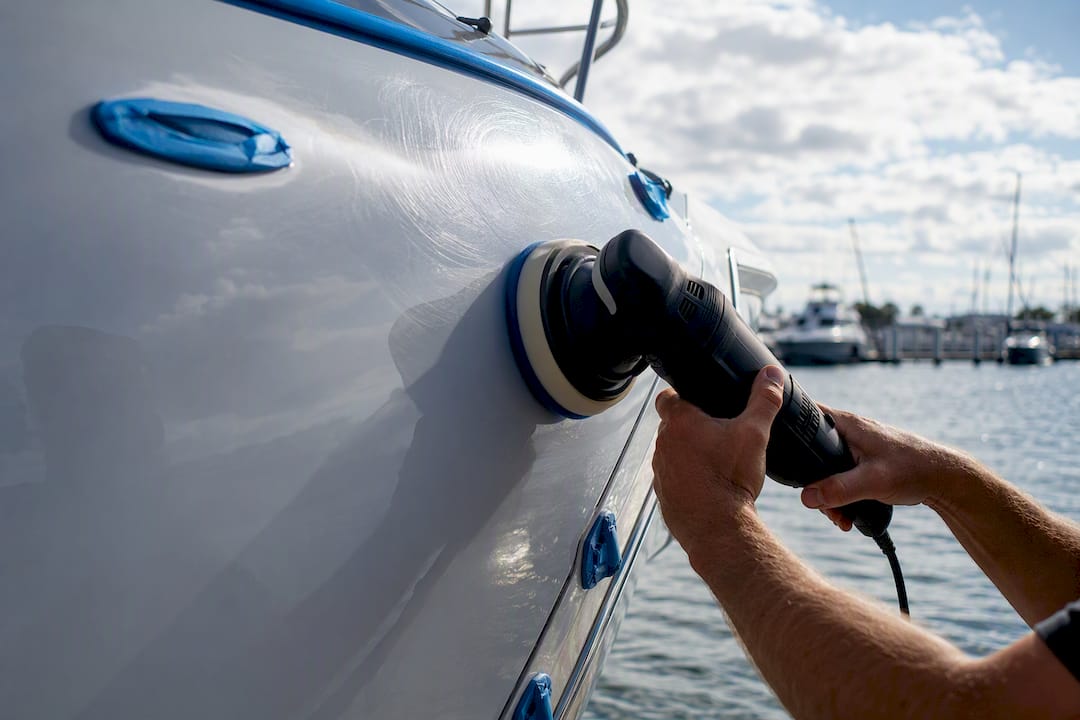
Tool selection depends almost entirely on how bad the oxidation is, and pros generally split machine choice into three tiers: DA/random orbital polishers for light oxidation, gear-driven machines for moderate chalking, and rotary buffers for severe, long-neglected surfaces. A dual-action polisher oscillates and spins simultaneously, which makes it far more forgiving. A rotary spins in one direction only, cuts faster and hotter, and punishes a shaky hand.
Pad choice matters just as much as the machine. Foam pads are gentler and less likely to leave holograms, but they cut slower. Fiber and wool pads grab and remove material aggressively, which is exactly what heavy chalking needs, but they almost always leave swirl marks that require a follow-up polishing pass to erase.
- Foam pads (various densities): softer, closed-cell foam finishes gently; firmer foam cutting pads bridge the gap between polish and light compound work.
- Wool or fiber pads: fastest material removal, best paired with a gear-driven or rotary machine on heavy chalk, but plan on a refining stage afterward.
- Microfiber pads: aggressive cut with less heat buildup than wool, a reasonable middle ground on a DA.
One recurring mistake among boat owners is mismatching product strength to actual oxidation severity, either grinding away good gelcoat with a heavy compound on light haze, or wasting hours trying to buff out heavy chalking with a one-step cleaner-wax that was never built for the job.
Product categories break down by severity:
| Oxidation level | Product category | Typical pairing |
|---|---|---|
| Light haze | Cleaner-wax / all-in-one (AIO) | Foam pad, hand or DA |
| Moderate chalk | Dedicated oxidation remover or medium compound | Foam cutting pad or gear-driven with wool |
| Heavy, years-old chalk | Heavy cutting compound | Rotary with wool, then finishing polish |
| Post-cut refinement | Finishing polish | Foam pad on DA |
| Final step | Wax, sealant, or ceramic protectant | Foam applicator pad or spray-on |
Cleaner-waxes and AIO products save real time on light haze, but they’re not a substitute for compounding once chalk transfers heavily onto a wipe-down rag. If your test spot needs real cutting to bring back gloss, an AIO product will just mask the problem for a few weeks before the haze returns.
Hand application still has a place: small areas, tight corners around hardware, or touch-ups between full machine sessions. But for anything beyond a small swim platform or a few scattered spots, a machine will save your shoulders and deliver a more even result across a curved hull surface.
What’s the Step-by-Step Process for Gelcoat Oxidation Removal?
Once you know your severity level, the actual restoration follows the same skeleton every time: wash, test, correct, refine, protect. The details inside each step change based on how far gone the gelcoat is.
1. Wash and decontaminate
Rinse the hull, then wash with a dedicated marine soap, working top to bottom in sections to avoid streaking dried soap onto clean panels. Follow with a clay bar or a chemical decontaminant on any area that still feels rough or gritty after washing, since embedded salt, sap, or mineral deposits will grind into your pads and scratch the surface during compounding. Skipping this step is one of the fastest ways to turn a routine polish into an accidental sanding job, since trapped grit acts like sandpaper under your pad.
2. Run a test spot
Pick a small, low-visibility area, roughly a foot square, and work through your lightest planned product and pad combination first. Starting with the least aggressive method and escalating only if needed protects gelcoat thickness you can never get back. Wipe the area clean, inspect it under direct light, and judge the result honestly: did the chalk clear, or does haze remain? That answer tells you exactly which tier below you actually need.
3. Light oxidation: cleaner-wax or fine polish
If your test spot cleared up nicely with a cleaner-wax or one-step AIO product on a foam pad and a DA polisher, you’re in the easiest category. Work in 2-foot by 2-foot sections, moving the pad in slow, overlapping passes at moderate speed, and let the product break down before wiping. Expect a noticeably deeper, wet-looking shine within one pass. If a slight haze remains after wiping, a second light pass usually finishes the job.
4. Moderate oxidation: oxidation remover or medium compound
When chalk transfer is heavier, or the test spot needed real pressure to clear, move up to a dedicated oxidation remover or medium-cut compound. A foam cutting pad on a DA handles most moderate cases; stubborn spots may need a gear-driven polisher or a rotary with a wool pad for extra cut. Work smaller sections here, roughly 18 inches square, and check your progress every pass or two by wiping the area down and inspecting under good light. You’re looking for even color and a consistent, glossy finish with no leftover dull patches.
5. Heavy oxidation: sanding, then rotary compounding
Severely chalked gelcoat, the kind that’s gone untreated for years and has a rough, sandpaper-like texture, usually needs wet sanding before compounding will do any good. Cover that process in detail in the next section, but the sequence after sanding is: heavy cutting compound on a rotary with a wool pad to remove the sanding marks and restore base gloss, followed immediately by a finishing polish on a foam pad and DA to erase the holograms the wool pad left behind.
6. Inspection checkpoints throughout
Stop and check your work under direct sunlight or a bright work light after every pass, not just at the end. You’re watching for three things: leftover haze (means you need another pass at the same aggression level), holograms or fine swirl marks (means you need to step down to a finer pad and polish), and any color shift or thinning at edges (means stop immediately and reassess, since you may be cutting into worn or repaired gelcoat).
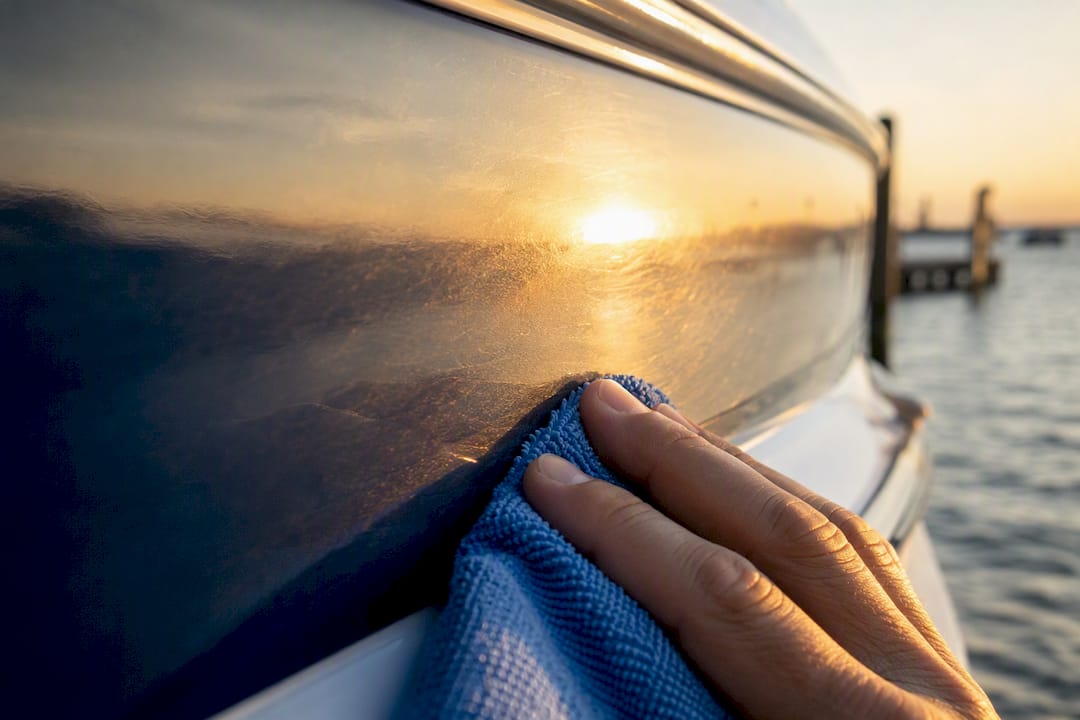
Pro Tip: Keep a damp microfiber towel handy to wipe test areas between passes. A quick wipe-and-inspect habit catches overcutting long before it becomes a visible problem.
When Should You Wet Sand Gelcoat, and How Do You Do It Safely?
Wet sanding is a last resort, not a default step. It permanently removes material from the gelcoat layer, so it’s reserved for deep, uneven chalking that compounding alone can’t touch, or for gelcoat that’s severely oxidized across large, uneven areas where a rotary and wool pad alone would need excessive passes to level things out. If you’re at all unsure whether your gelcoat has enough thickness to spare, that uncertainty alone is a reason to call a professional instead of guessing with sandpaper.
Manufacturer guidance from 3M for heavy oxidation cases recommends starting around 800 grit, then stepping up through 1000, and finishing the sanding stage around 1500 to 2000 before moving into compounding. Each step up in grit removes the scratch pattern left by the previous, coarser paper, so skipping steps just means more compounding work later to erase deeper scratches.
- Keep the surface wet at all times. Dry sanding gelcoat generates heat and dust, and it cuts unevenly.
- Use even, overlapping strokes, and change direction periodically to avoid digging a groove in one spot.
- A soft interface pad between a DA sander and the sanding disc helps blend transitions near edges and reduces the risk of gouging where a rigid backing plate would dig in.
- Check constantly for any hint of laminate showing through, especially around edges, seams, and prior repairs where gelcoat runs thinner.
- Stop sanding the moment gloss starts returning unevenly across the panel. That’s your cue to move to compounding.
Sanding marks look like fine, dull scratches even at 2000 grit, and they will not disappear on their own. A heavy compound with a wool pad clears them first, followed by a finishing polish on foam to bring back full clarity. If sanding scars are still visible after that sequence, you likely need another compounding pass before moving on.
How Do You Remove Holograms and Choose Long-Term Protection?
Holograms and fine swirl marks are the price of aggressive correction, and they show up most after wool or fiber pad work. A foam finishing pad loaded with a dedicated finishing polish on a DA polisher, run at moderate speed with light pressure, typically clears these marks within one or two passes. Check your work at an angle under bright light or direct sun, since holograms often hide under overhead shop lighting and only reveal themselves outdoors.
Once the surface is clean, swirl-free, and glossy, protection choice determines how long that result actually lasts. Wax, polymer sealants, and ceramic coatings each trade convenience for durability in a fairly predictable way:
- Paste or liquid wax: easiest to apply by hand, gives excellent depth of shine, but typically needs reapplication every couple of months on a boat kept in the water or heavy sun.
- Polymer sealant: more UV-resistant than traditional wax, usually holds up several months longer, and applies similarly with a foam applicator.
- Marine ceramic coating: the longest-lasting option, often rated for one or more full seasons, but it demands a flawless, fully corrected surface before application since it locks in whatever condition the gelcoat is in underneath.
Temperature matters at this stage too. Applying wax or sealant in direct sun or high heat can make the product difficult to remove and interfere with proper curing, so work in shade when you can and give the product the cure time its label specifies before the boat goes back in the water. Once protected, a rinse-and-wax maintenance routine every few weeks slows oxidation’s return far more than waiting for it to reappear and starting the whole correction process over.
What Are the Warning Signs You’ve Gone Too Far?
Heat buildup is the most common way DIY correction goes wrong. If the gelcoat feels hot to the touch or the pad starts gumming up with melted product residue, you’re running the machine too fast or holding it in one spot too long. Lift off, let the surface cool, and slow your pass speed.
Watch for these signs that you’ve overcorrected or picked the wrong product for the job:
- Color mismatch or a dull, flat patch where the surrounding gelcoat still looks glossy, often meaning you’ve cut through pigmented gelcoat into a different layer beneath.
- Thin or feathered edges near seams, rub rails, or repair zones that suddenly feel different under your hand than the surrounding field.
- Exposed fiberglass texture, rough and fibrous rather than smooth, which means you’ve gone through the gelcoat entirely.
- Persistent haze that won’t clear even after multiple passes with the correct product, which can mean the gelcoat is too far degraded for surface correction at all.
Acid-based hull cleaners can strip mineral stains and waterline deposits effectively, but only use one that explicitly lists gelcoat as a safe surface on its label, and always test a small spot first. If you spot pitting, active blistering, or gelcoat that’s visibly crazed and brittle, stop the DIY process and bring in a marine gelcoat professional. Those conditions usually mean structural gelcoat repair, not polishing, is what’s actually needed.
Why Do Professionals Follow a Staged Correction System?
Pros stick to a staged workflow, assess, test patch, correct, refine, finish, because it minimizes gelcoat removal while maximizing the final result, rather than jumping straight to the most aggressive tool available. Experienced detailers read subtle feedback most DIY owners miss: the sound a pad makes as it saturates, the color of the dust coming off during sanding, how quickly a compound breaks down under the pad.
Test patches paired with careful reading of pad feedback let technicians dial in exactly how much cut a panel needs, rather than guessing and hoping the gelcoat holds up.
That’s the real gap between a DIY result and a professional one: not access to better products, but the judgment built from doing this hundreds of times across different hull ages and gelcoat conditions.
If your inspection turns up blistering, crazing, or you’re simply not confident reading a test spot correctly, hiring a pro is the sounder move. Mobiledetailing’s directory lets you search local mobile detailing professionals by location, compare their gelcoat restoration services and reviews, and request quotes directly from their profiles.
- Search for pros near your marina or storage location rather than guessing from generic listings.
- Compare before-and-after photos and reviews on business profiles before requesting quotes.
- Request quotes directly through the platform once you’ve narrowed down a few candidates.
What This Restoration Process Actually Teaches You
The biggest failure I see in DIY gelcoat restoration isn’t a lack of effort. It’s skipping the test spot and jumping straight to the compound and pad combination that “should” work based on how the hull looks from ten feet away. Oxidation severity is deceptive; a hull that looks uniformly chalky often has patches that need three different levels of correction.
Conventional advice tends to oversell one-step products as fixes for everything short of exposed fiberglass. They’re genuinely useful for light haze, and genuinely useless for years-old heavy chalking, and most guides gloss over that line. If there’s one habit worth adopting from this whole process, it’s treating the test spot as mandatory, not optional, every single time, even on a hull you’ve corrected before. Gelcoat condition changes season to season, and your product choice should change with it.
— John
Get a Professional Quote for Gelcoat Restoration
Heavy oxidation, wet sanding, and rotary compounding carry real risk of burning through gelcoat if you’re working without experience, and that’s exactly the point where hiring a professional saves you both time and money compared to a costly repair later. Mobiledetailing connects boat owners with local mobile detailing professionals who handle compounding, polishing, wet sanding, and ceramic coating application on hulls of every size.

When you request a quote, include clear photos of the affected areas in direct light, your boat’s length, how long it’s been since the last correction, and what result you’re hoping for, whether that’s a full restoration or just knocking down surface haze before selling. That detail helps local pros give you an accurate quote instead of a rough guess, and it saves a wasted site visit if the job turns out to need gelcoat repair rather than polishing. Get a local quote for gelcoat restoration and compare a few pros before committing to heavy correction work.
Where This Article’s Technical Guidance Comes From
The grit sequences, pad pairings, and safety steps in this guide come from manufacturer documentation and professional marine detailing sources, not generic cleaning advice repurposed for boats.
- 3M’s marine SOP for heavy oxidation removal verifies the recommended sanding grit progression and wool pad compounding sequence for severe cases.
- Starke Yacht Care’s professional restoration process confirms the staged assess, test, correct, refine, finish workflow pros actually follow.
- Dr. Beasley’s guide to boat oxidation removal verifies machine and pad selection by oxidation severity, plus wax versus ceramic coating tradeoffs.
- Practical Sailor’s guide to gelcoat restoration supports the common mistake of mismatching product strength to actual oxidation level.
- For general surface prep and sanding technique that applies across marine and automotive gelcoat work, Dust Free Film’s refinishing guide covers avoiding common sanding defects.
Sources
- How to Restore Oxidized Gelcoat on a Fiberglass Boat — Sail These Seas Mag
- 3M marine SOP: Gelcoat finishing — Heavy oxidation removal (PDF)
- How to Restore Oxidized Gelcoat on a Boat — Starke Yacht Care
- How to Remove Oxidation from Boats — Dr. Beasley’s
FAQ
What is the best oxidation remover for fiberglass?
The best product depends on severity: a cleaner-wax or AIO handles light haze, a dedicated oxidation remover or medium compound handles moderate chalking, and a heavy cutting compound paired with a wool pad is needed for severe, long-neglected gelcoat.
How do I make gelcoat shine again?
Wash and decontaminate the hull, run a test spot to find the right product strength, correct with the appropriate compound or polish, then finish with a wax, sealant, or ceramic coating to lock in the gloss.
What is the best heavy oxidation remover for boats?
For heavy oxidation, manufacturer guidance points to optional wet sanding from 800 up through 1500 or 2000 grit, followed by a heavy cutting compound on a rotary with a wool pad, then a finishing polish to remove sanding marks.
What is the best product to remove oxidation?
There’s no single best product across all cases. Match the product category to what your test spot reveals: light haze needs only a cleaner-wax, while heavy chalking needs a real cutting compound and possibly sanding beforehand.
When should I hire a professional instead of doing gelcoat restoration myself?
Call a professional if you see blistering, crazing, pitting, or exposed laminate, or if you’re unsure how much gelcoat thickness remains. Mobiledetailing’s directory lets you compare local pros and request quotes for exactly this kind of correction work.