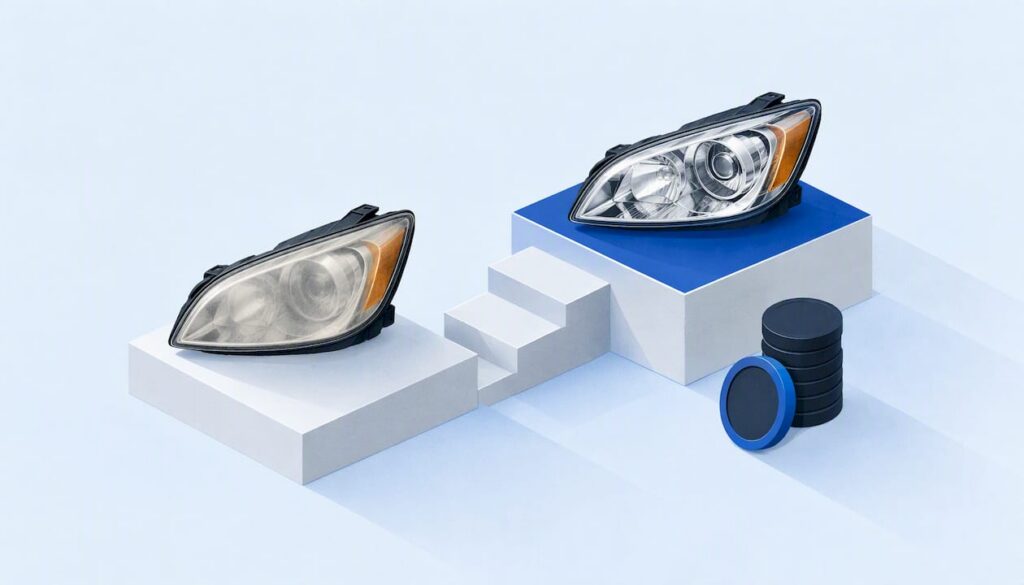
Paint Correction Stages: What 1, 2 and 3 Stage Really Mean
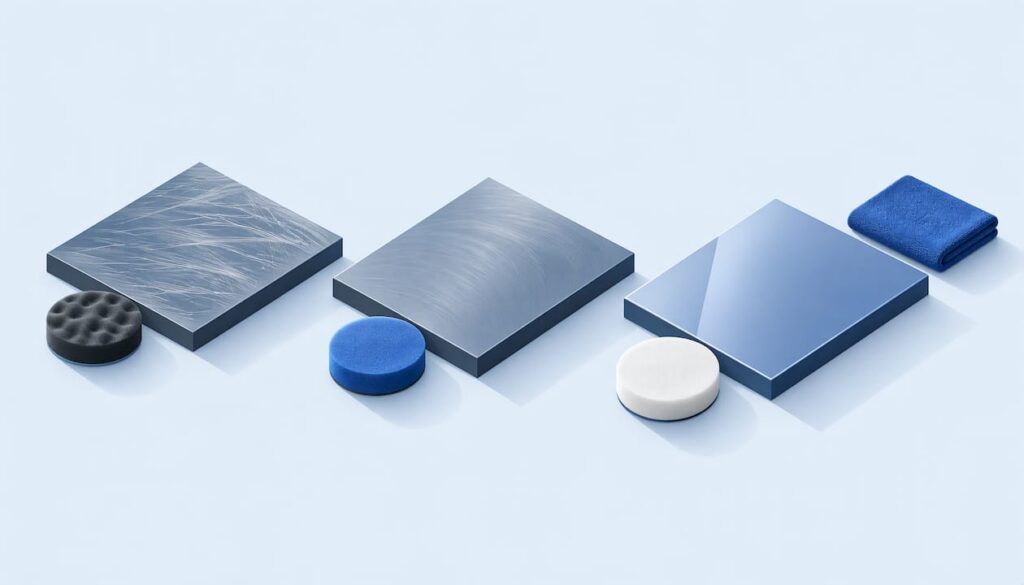
Paint correction stages describe how many polishing passes a detailer makes to level defects in your clear coat. Stage 1 is one pass and suits light swirls. Stage 2 adds a more aggressive cutting pass before a finishing pass. Stage 3 uses three combinations of polish and pad for heavy defects. Higher stages remove more, but they also take more time and remove more paint, so the right stage is the lowest one that gets your car to the finish you want.
The terms are not regulated. One shop’s “2 stage” can be another’s “1 step plus a light polish.” That is why it pays to know what actually happens at each stage and what to ask before you agree to a quote.
Table of Contents
- What a “stage” means in paint correction
- Stage 1 paint correction: one pass for light defects
- Stage 2 paint correction: cut, then refine
- Stage 3 paint correction: multi-stage for heavy defects
- Stage 1 vs. stage 2 vs. stage 3 at a glance
- What paint correction cannot fix
- Why paint thickness decides how far to go
- How long each stage takes
- Choosing the right stage for your car
- Paint correction before ceramic coating or paint protection
- Questions to ask a detailer before you book
- Find a mobile detailer for your correction
- FAQ
- Sources
What a “stage” means in paint correction
A stage is one round of machine polishing with a specific pad and liquid. Each round uses a finer abrasive than the last. The cutting step levels the edges of scratches and swirls in the clear coat. The finishing step refines the surface the cutting step left behind, which is what brings back gloss and clarity.
You will see “stage” and “step” used as synonyms. Stage 1 and one-step mean the same thing in most shops, and so do stage 2 and two-step. Some detailers use “enhancement polish” for the lightest version and reserve “correction” for stages 2 and 3.
Paint correction is not a coating and it is not a wax. It permanently removes a thin layer of clear coat to flatten the surface. That is why it cannot be undone, and why the amount of clear coat your car has matters as much as the defects you can see.
Stage 1 paint correction: one pass for light defects
A stage 1 correction is a single polishing step with one pad and one polish. According to XPEL’s overview of the process, it fits vehicles with no visible blemishes or only light damage and uses one finishing polish and pad.
The tradeoff comes from the pad itself. Lake Country, a polishing pad manufacturer, explains that a pad with enough cut to remove minor swirls cannot also deliver the highest level of gloss a dedicated finishing pad can. A one-step job is a compromise between cutting power and final shine by design.
Stage 1 usually makes sense when:
- The car is a daily driver with light wash-induced swirls.
- The paint is fairly new or has been well cared for.
- You want a visible improvement in gloss without a big bill.
- You plan to keep the car a few years and want to preserve as much clear coat as possible.
One company, Brilliatech, publishes a comparison that puts single-stage defect removal at roughly 50 to 75 percent. Treat numbers like that as a vendor’s rough claim, not a guarantee. Results depend on the paint, the pad, the product and the technician.
If you want to see how a one-step job is evaluated on a real car, the MobileDetailing.io guide to a test spot for one-step paint correction walks through the idea for daily drivers.
Stage 2 paint correction: cut, then refine
Stage 2 uses two combinations. The first is a more abrasive compound on a cutting pad to remove visible swirls and light scratches. The second is a finishing polish on a softer pad to remove the haze from the first step and bring the gloss back. XPEL describes it the same way: a more abrasive compound and pad, followed by a finishing polish.
This is the stage most owners end up needing. Cars that have been through automatic car washes, been dried with rough towels or sat outside for years often have swirl marks that a single pass will only soften.
Companies that sell correction services often report a clear gap between the two stages. One published guide, Auto Cleaned, says one-step typically removes 40 to 60 percent of light defects while two-step can remove 70 to 90 percent of moderate to heavy ones, with the gap widening as paint condition worsens. The exact percentages vary by source, but the pattern is consistent: the worse the paint, the more a second step matters.
A two-step job costs more than a one-step job because it takes longer and uses more pads and product. For a full breakdown, read MobileDetailing.io’s page on two-step paint correction, including cost and time.
Stage 3 paint correction: multi-stage for heavy defects
Stage 3, also called multi-stage correction, uses three polish-and-pad combinations. It is meant for heavy swirls, visible scratches and other defects. A typical sequence starts with a heavy cutting compound on a cutting pad, moves to a medium polish to remove the marks of the first step, and finishes with a fine polish for gloss.
XPEL notes that stage 3 may include spot wet sanding for severe scratches. Wet sanding removes more clear coat than polishing does and leaves its own marks that must be polished out. It is not a do-it-yourself step. Leave it to an experienced professional who measures paint thickness first.
The Brilliatech comparison puts multi-stage defect removal at 80 to 95 percent or more and describes it as ideal for show cars and as preparation for ceramic coating. Again, take the percentage as one company’s estimate.
Stage 3 makes sense when:
- The car has dark paint that shows every flaw.
- You are restoring a neglected or older vehicle.
- You want the best possible finish before a coating or paint protection film.
- The defects are deeper than a two-step process can address, but still within the clear coat.
Stage 1 vs. stage 2 vs. stage 3 at a glance
| Stage 1 | Stage 2 | Stage 3 | |
|---|---|---|---|
| Passes | One polish and pad | Cutting pass, then finishing pass | Three polish-and-pad combinations |
| Best for | Light swirls, newer or well-kept paint | Visible swirls and light scratches | Heavy swirls, visible scratches, other defects |
| Gloss result | Good improvement | Strong improvement | Highest, if the paint can take it |
| Clear coat removed | Least | Moderate | Most |
| Time and cost | Lowest | Middle | Highest |
The table shows the general pattern, not a promise about any one car. Two shops may use different names for the same work, so ask each detailer to describe the pads and products they would use on your car.
What paint correction cannot fix
Polishing only works within the clear coat. A scratch that goes through it into the color layer or the primer cannot be polished out. As Carwash.com reports, no amount of polishing fully removes deep scratches that penetrate the clear coat, and honesty about those limits is part of professional practice.
Common things that polishing will not fix:
- Rock chips that expose primer or metal.
- Deep key scratches you can catch with a fingernail.
- Clear coat failure, which shows as peeling or cloudy flaking.
- Rust or paint bubbling under the surface.
- Defects on repainted panels where the paint layer is thin.
A good detailer will point these out before they start and may suggest touch-up paint or a body shop for them. Correction can make them less noticeable by removing the swirls around them, but it will not erase them.
Why paint thickness decides how far to go
Every pass removes some clear coat, and there is no way to put it back. A paint depth gauge measures how much paint is on each panel so the detailer can judge how much can be safely removed. Carwash.com notes that professional correction uses a gauge before starting to measure remaining paint and guide safe correction.
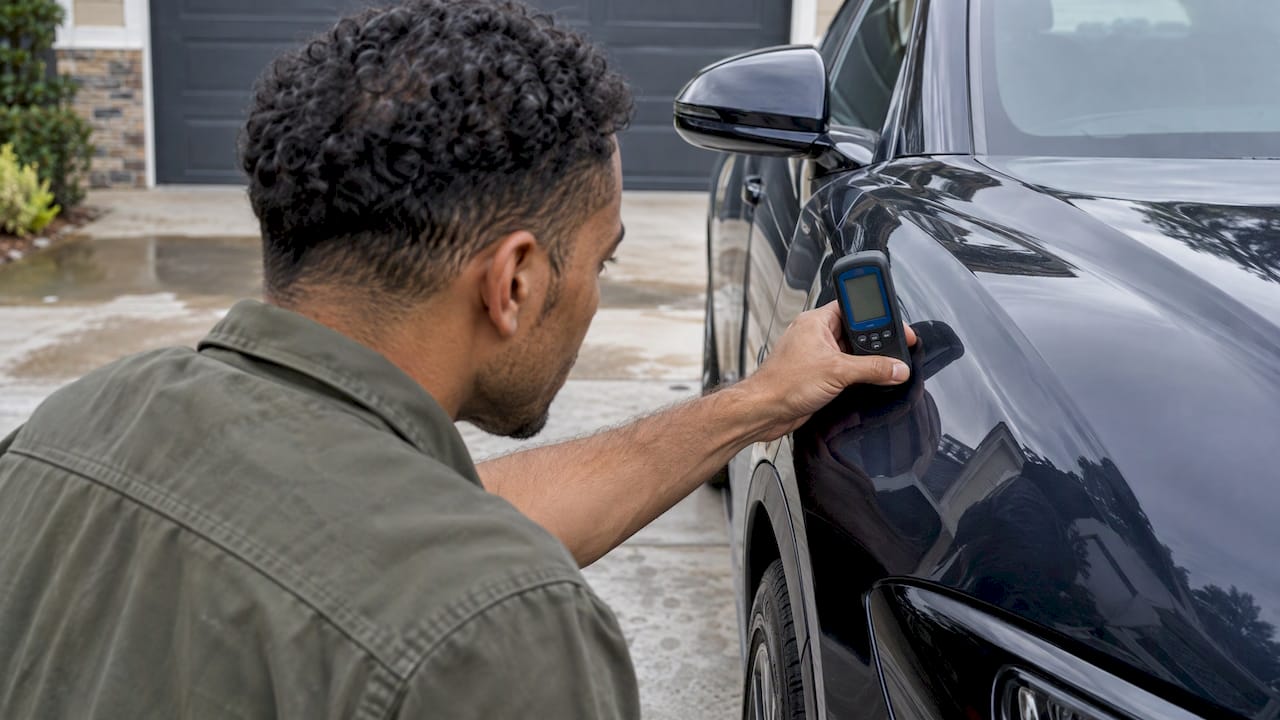
The gauge maker DeFelsko says most factory paint jobs measure between 4 and 7 mils (100 to 180 microns). Readings far below that suggest the clear coat is nearly gone, while much higher readings often mean a panel has been repainted. On thin or unknown paint, it says hand polishing may be the only safe option.
What this means for you:
- Tell the detailer if any panel has been repainted or repaired.
- Expect them to measure several spots per panel, not just one.
- Be wary of any plan to go to stage 3 without a measurement.
- Accept a lower stage if the numbers say the paint cannot take more.
Repeated aggressive corrections over the life of a car add up, which is one reason a lighter stage is often the smarter choice for a newer vehicle.
How long each stage takes
There is no standard time, and any figure given without seeing the car is a guess. Time depends on the size of the vehicle, the hardness of the paint, how many defects there are and the number of stages. Larger vehicles such as trucks, SUVs and vans take longer than compact cars. Hard paint, which some Japanese and German makes are known for, usually takes more passes than soft paint.
The general pattern is that stage 1 is the shortest job, often a part of a day. Stage 2 is commonly a full day. Stage 3 can stretch into multiple days on a large or badly damaged car. Treat those as rough expectations and ask the detailer for a time estimate on your car.
Professional detailers advise against quoting firm prices over the phone without inspecting the paint, according to Carwash.com. If a shop offers a fixed price sight unseen, ask what happens if the paint turns out to need more work.
Pricing depends on the same factors as time. MobileDetailing.io’s guide to paint correction cost and what to ask covers what U.S. owners can expect and which questions to put to a detailer.
Choosing the right stage for your car
Start from the paint, not from the label. A simple way to decide:
- Look at the paint in direct light. Use sunlight or a bright flashlight. If you see fine circular swirls only, stage 1 is a reasonable starting point. If you see them clearly in shade too, think stage 2.
- Run a fingernail across scratches. If it catches, polishing will only reduce it, not remove it.
- Consider the color. Black and other dark colors show defects more, and owners of those cars often choose a higher stage.
- Think about what comes next. If a coating or film is going on, the surface under it is locked in, so a better correction makes sense.
- Be honest about how you wash. Correcting paint and then taking the car through a brush wash brings the swirls right back.
A reputable detailer will often do a test spot on one panel, show you the result and then recommend a stage. That gives you something to look at before you agree to the full job.
Paint correction before ceramic coating or paint protection
Coatings and films lock in whatever is underneath them. Any swirl left on the paint will look sharper under a glossy coating, so many owners step up a stage before coating. Ceramic coating and paint protection film also protect against different things, and this comparison of ceramic coating versus PPF explains how to choose between them for chips, shine or both.
If you later need to remove a coating, the work should not cut into the clear coat. MobileDetailing.io explains how to preserve the clear coat while removing a ceramic coating. To keep a coated finish looking good, see the ceramic coating maintenance steps.
Coatings, wet sanding and heavy correction all involve tools and chemicals that can damage paint or harm you if used wrongly. Hire a professional for them instead of experimenting yourself.
Questions to ask a detailer before you book
The same label can hide very different work. A few questions separate careful detailers from careless ones:
- Do you measure paint thickness before starting, and on which panels?
- What pads and polishes would you use on my paint, and how many passes?
- How will you handle any deeper scratches you find?
- Do you inspect under dedicated lighting?
- What is included: wash, decontamination, taping of trim, and a final wipe-down?
- What protection do you recommend afterward, and is it in the quote?
A detailer who answers these clearly and explains tradeoffs is usually a better bet than one who simply sells the highest stage.
Find a mobile detailer for your correction
MobileDetailing.io is a free U.S. directory where you can search by location, compare detailers who list paint correction and ceramic coating, and send quote requests. Owners and fleet managers pay nothing to use it. Browse detailing services by category and location or request a local quote to describe your car and what you want done.
If you want to see how listings look, examples include Minor Details Automotive in Draper, UT, Defined Detail Studio in Sterling Heights, MI, VIP Auto Detailing in Cary, NC and Nine22 Detailing in Conroe, TX. Motorcycle owners can also read about the paint correction workflow for bikes.
FAQ
What’s the difference between stage 1 and stage 2 paint correction?
Stage 1 is a single polishing pass for light swirls and gloss. Stage 2 adds a more aggressive cutting pass first, then a finishing polish, so it can deal with visible swirls and light scratches. Stage 2 takes longer, costs more and removes slightly more clear coat.
Is stage 3 paint correction good?
It is good when the paint has heavy defects and enough clear coat to take the work. It gives the most thorough result but also removes the most paint and costs the most. For a lightly swirled daily driver it is usually more than the car needs.
How long should a stage 1 paint correction take?
There is no fixed time, because it depends on the vehicle size, paint hardness and prep work. Expect it to be the quickest of the three stages. A detailer should inspect your car before giving a time or price.
What is a 3 stage paint correction?
It is a multi-stage process with three polish-and-pad combinations: a heavy cut, a medium polish and a fine finishing polish. It targets heavy swirls, visible scratches and other defects, and may include spot wet sanding for severe scratches. Because of the risk, it should be done by a professional who has measured the paint.
Sources
- Paint Correction 101: Understanding the Process & Ceramic Coating (XPEL)
- One Step: How to Make More Money with a Single Stage Correction (Lake Country)
- Single Stage vs Multi Stage Correction (Brilliatech)
- 1 Step vs. 2 Step Paint Correction (Auto Cleaned)
- Mastering professional paint correction (Carwash.com)
- How to Use Paint Thickness Gauges for Better Automotive Detailing (DeFelsko)
Recommended
- Two-Step Paint Correction: What It Is, Costs and Time
- Daily Drivers: Test Spot to See If One Step Paint Correction Works
- $500–$2,500+: Paint Correction Cost U.S. Owners Pay and What to Ask
- Save Your Clearcoat: Pro Motorcycle Paint Correction Workflow
MobileDetailing.io provides general educational information. Products, surfaces and vehicle finishes vary. Follow manufacturer instructions and consult a qualified detailing professional before using abrasive processes or chemical treatments.