Save Your Clearcoat: Pro Motorcycle Paint Correction Workflow
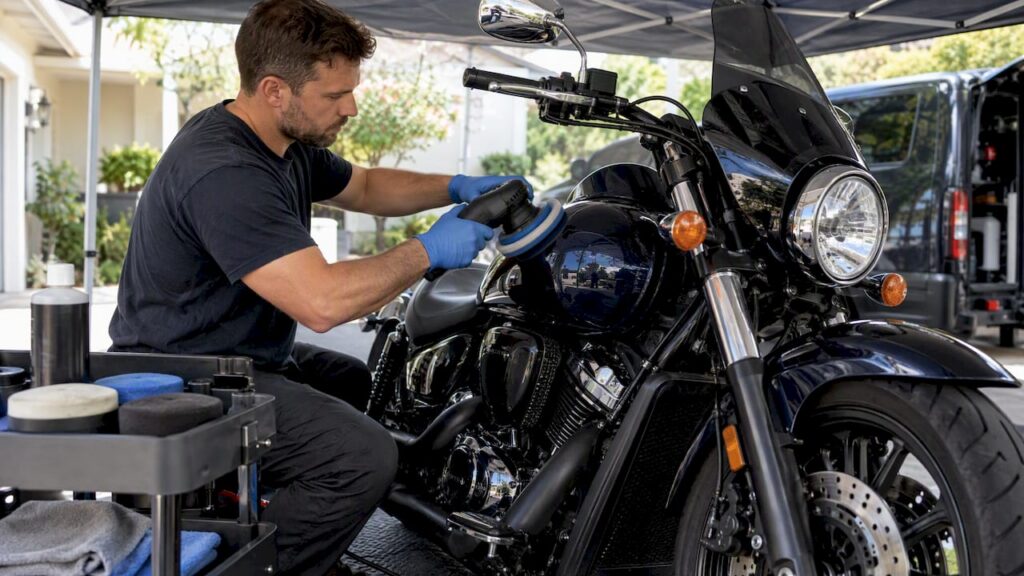
Motorcycle paint correction uses staged compounding and polishing to remove swirls, light scratches, and oxidation sitting in the clearcoat. Because motorcycles have tight, curved panels and often need wet sanding to fix deeper defects, most full corrections are best handled by a trained professional rather than a weekend DIY project. Once the correction is finished, a wax, sealant, or ceramic coating typically goes on to protect the fresh finish.
Table of Contents
- What paint correction is and why motorcycle paint is different
- Who should DIY and who should hire a pro
- Professional paint-correction workflow: what a pro will do, step by step
- Tools, pads, and compounds: what matters and what to avoid
- Protecting the finish after correction: sealants, wax, ceramic coatings, and PPF basics
- Typical costs, timeframes, and what to ask for in a service quote
- Author and brand proof
- How to get a local paint-correction quote
- FAQ
- Sources
What paint correction is and why motorcycle paint is different
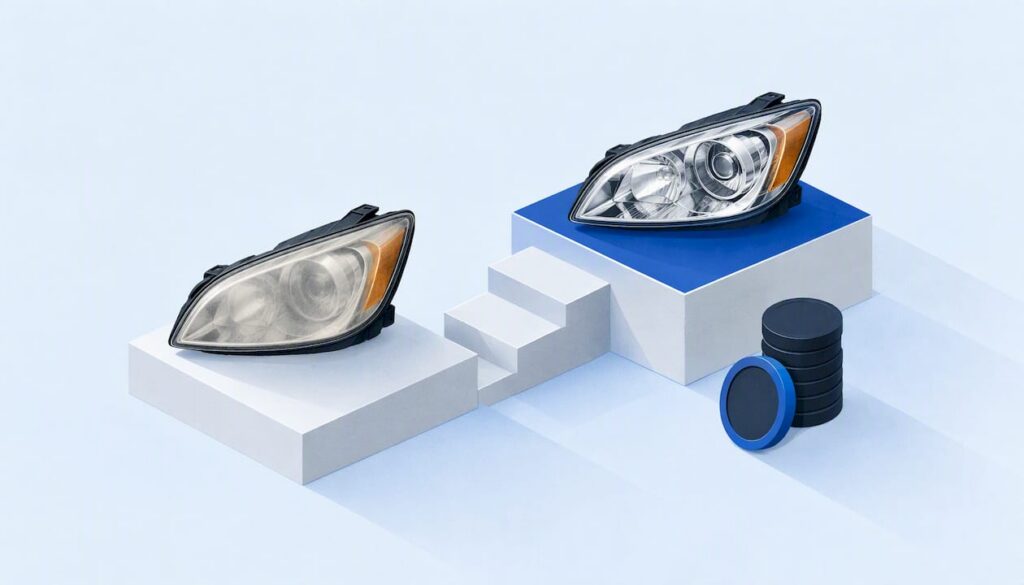
Motorcycle paint is built in layers: a primer, a color basecoat, and a clearcoat on top that provides gloss and UV protection. Paint correction works almost entirely on that clearcoat layer, using abrasive compounds and polishes to level out microscopic damage until the surface reflects light evenly again.
The defects correction targets are predictable. Swirl marks come from improper washing or drying. Light scratches happen from brushing against walls, straps, or saddlebags. Oxidation shows up as a dull, chalky haze on older paint, and water spots or overspray etch into the clearcoat if left untreated.
Motorcycles complicate this work in ways cars do not:
- Tanks, fenders, and fairings are tightly curved, leaving less flat surface area for a buffer pad to sit evenly; knowing when to match the material first ensures repairs last before paint correction begins.
- Panels are smaller and more numerous, so a machine built for car hoods can easily miss, overheat edges, or burn through clearcoat near trim lines.
- Exhaust pipes and engine heat can bake contaminants into nearby paint, creating discoloration that behaves differently than a swirl mark.
- Matte and denim finishes cannot be corrected like gloss paint. According to Harley-Davidson’s own service documentation, denim paint should never be rubbed out because polishing will permanently increase its gloss and ruin the intended texture.
That last point matters enough to repeat before any compound touches a bike: a matte tank is not a candidate for correction, full stop.
Who should DIY and who should hire a pro
Not every defect needs a professional shop visit. A quick decision framework helps separate a weekend project from a job that belongs in someone else’s hands.
- DIY fits light swirl removal on gloss paint, done in a shaded, dust-free space with a single-stage polish and a known-good pad.
- Call a professional when you see deep scratches that catch a fingernail, clearcoat that looks cracked or lifted, matte or denim paint, or any defect that a test spot shows needs wet sanding.
- Call a professional when the job requires removing body panels, mirrors, or trim to reach hidden edges safely.
Health and safety belong in this decision too. Compounds, solvents, and some decontamination chemicals release fumes that need real ventilation, and refinishing-adjacent work can expose people to isocyanates when primers or clears are disturbed. The EPA’s isocyanate exposure profile notes that refinishing operations can expose workers to isocyanates and solvents, and recommends engineering controls and personal protective equipment to manage that risk. That guidance is written for auto body shops, but the same caution applies whenever sanding, priming, or spray work is in the picture on a bike.
Pro Tip: Before buying any polish, do a small test spot on an inconspicuous panel. If one pass with a light polish restores the finish, you likely don’t need a multi-stage correction at all.
Professional paint-correction workflow: what a pro will do, step by step
A shop that knows motorcycles follows a sequence built to avoid surprises and protect thin clearcoat. Here is the order you should expect to see, and why each stage exists.
- Inspection and test spot. A technician examines the bike under raking light to catalog defects, then works a small test area to confirm what level of correction is realistic. This is the same logic behind the Mobiledetailing for determining whether a single polishing step will suffice before committing to a full multi-stage job.
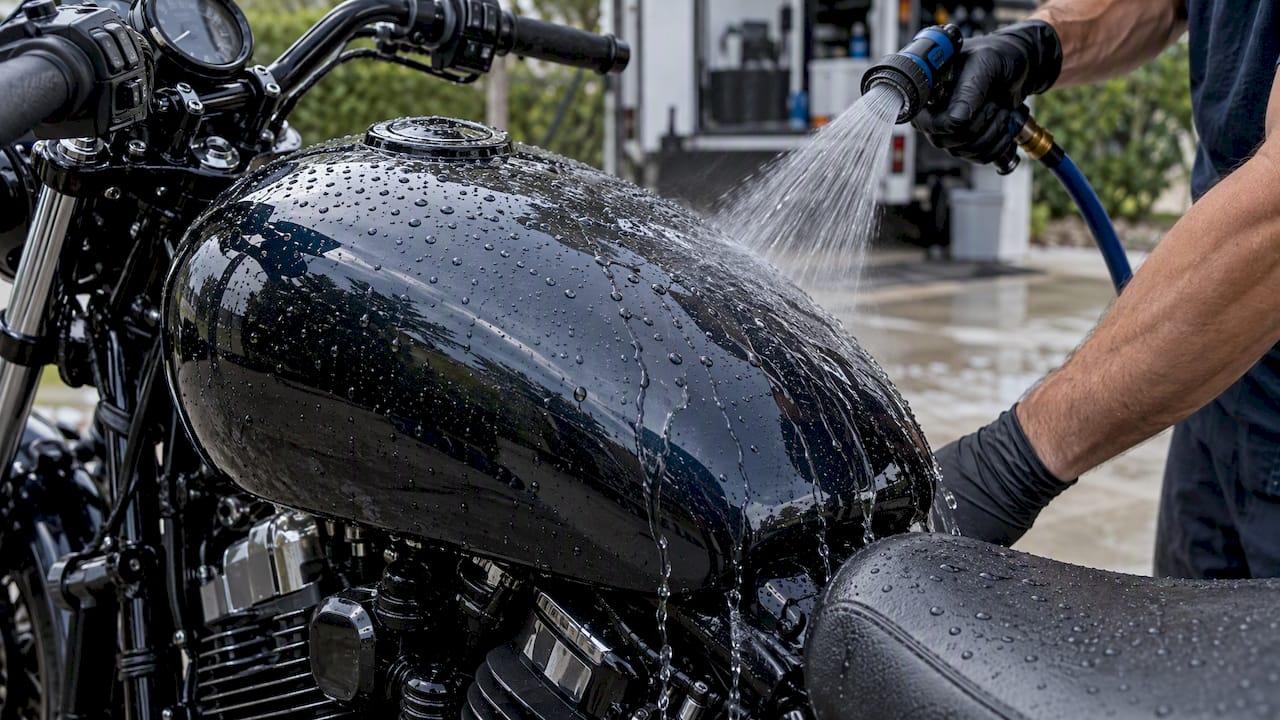
- Safe wash and decontamination. The bike gets a two-bucket wash, followed by an iron decontamination treatment and clay or chemical decontamination to strip bonded contaminants that would otherwise scratch the surface during polishing.
- Masking. Rubber, plastic trim, decals, and any matte-finished panels get taped off so compounds never touch surfaces they would damage.
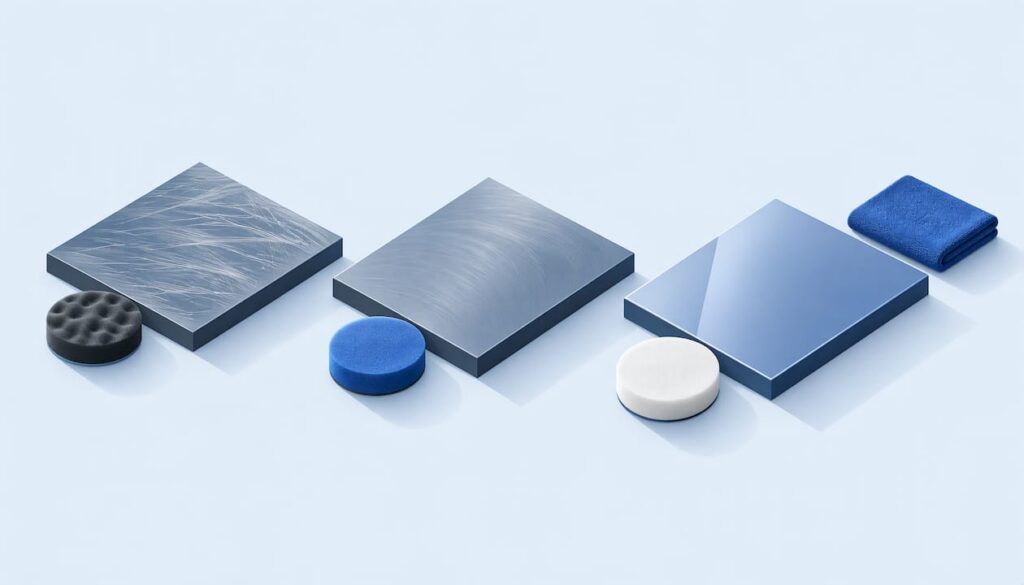
- Compounding stage. A cutting compound paired with a firmer foam or wool pad removes the bulk of scratches and oxidation. Pad choice and machine speed matter here: too aggressive a combination on thin clearcoat can burn through in seconds, especially near raised edges and curves.
- Polishing stage. A finishing polish and softer pad remove the fine marring the compounding step leaves behind, restoring clarity and gloss without reintroducing scratches.
- Escalation to wet sanding. When defects run deeper than compounding can fix, wet sanding levels the clearcoat with very fine abrasive paper before polishing resumes. This step removes material permanently and is unforgiving on thin motorcycle clearcoat, which is why it belongs with an experienced professional rather than a first-time DIYer.
- Final wipe-down and inspection. The surface gets cleaned with a panel-prep solvent to remove any polish residue, then checked under light again before any protective product goes on.
- Reassembly or part painting. If panels were removed for access, or if a section needed localized touch-up paint, this is where everything goes back together and gets a final check for fit and finish.
Bullet version of the decision points that run through this whole sequence:
- Inspection sets expectations before any abrasive touches the bike.
- Decontamination prevents new scratches during the correction itself.
- Compounding and polishing are separate stages with separate goals: removal, then refinement.
- Wet sanding is a last resort, done by someone who has done it before.
Tools, pads, and compounds: what matters and what to avoid
The machine and pad combination determines how forgiving or risky a correction job is. A dual-action polisher oscillates and rotates at the same time, which spreads heat and reduces the chance of burning through clearcoat, making it the safer tool for most motorcycle panels. A rotary polisher spins in one direction only and cuts faster, which is useful for stubborn defects but far less forgiving on curved, thin-clearcoat surfaces if the operator lacks experience.
Pads run from aggressive wool or microfiber cutting pads down to soft foam finishing pads, and each pairs with a specific compound aggressiveness. Mismatching an aggressive pad with a mild polish wastes time; mismatching an aggressive compound with a soft pad on a curved tank risks burning the edges.
A few practical points worth flagging:
- Reused rags, paper towels, or cloths containing nylon fibers can embed grit into the surface and cause new fine scratches during wipe-down. Harley-Davidson’s cleaning and care procedure specifically warns against paper towels and nylon-containing cloths for this reason and recommends dedicated, clean microfiber instead.
- Keeping pads clean mid-job (brushing or blowing out buildup) prevents compound residue from being dragged across the paint as a new abrasive.
- Good airflow and moderate machine speed reduce the heat buildup that causes clearcoat burns on motorcycle edges and ridges.
Pro Tip: Keep a separate, clearly labeled pad for each compound stage. Cross-contaminating a finishing pad with leftover cutting compound reintroduces the scratches you just removed.
Protecting the finish after correction: sealants, wax, ceramic coatings, and PPF basics
Correction removes defects; protection is what keeps new ones from forming as fast. The right choice depends on budget, how the bike is stored, and how much upkeep you want to do.
- Wax and sealants are inexpensive and easy to apply but typically last weeks to a few months before reapplication is needed.
- Ceramic coatings last much longer and resist water and light chemical staining better, but they cost more upfront, require careful surface prep, and are not a substitute for correction. A 2025 cost analysis of motorcycle ceramic coating notes that professional application generally produces more consistent, longer-lasting results than DIY kits.
- Paint protection film (PPF) adds physical impact resistance on high-contact areas like tank edges and fork guards, which coatings and wax cannot provide.
A coating applied over unaddressed swirls or oxidation just locks those defects in under a glossy layer, which is why a proper test spot and correction always come first. For a breakdown of how wax, sealants, and ceramic coatings actually compare day to day, this comparison of coating lifespan versus waxing walks through realistic maintenance expectations.
Ceramic coatings have real downsides worth knowing before paying for one: they add cost on top of correction, they still need periodic maintenance washes with pH-neutral shampoo, and they do not make paint immune to rock chips or deep scratches. Treat a coating as a maintenance advantage, not a suit of armor.
Typical costs, timeframes, and what to ask for in a service quote
Paint correction pricing on vehicles generally runs from about $500 to $2,500 or more depending on severity, size, and how many stages are needed, while general motorcycle detailing services tend to fall between $50 and $400 depending on scope. If a bike’s paint is damaged badly enough that correction won’t restore it, a full repaint becomes the alternative: typical motorcycle repaint costs range from about $400 to $1,600 for a basic job and $800 to $2,500 for custom work, with high-end custom jobs running higher still.
A single-panel correction might take a few hours; a full multi-stage correction with wet sanding and reassembly can take a full day or more. When comparing quotes, ask shops to spell out:
- Whether they perform a test spot before quoting the full job.
- How many correction stages (compound, polish, finishing polish) are included.
- Whether wet sanding is needed and who performs it.
- Whether any panels need removal, and what that adds to the timeline.
- What protection product is included or offered afterward, and its maintenance requirements.
Fairing count, tank size, and overall paint condition all shift the price, since more panels and deeper defects mean more labor hours regardless of the bike’s displacement.
Author and brand proof
Guidance in this article draws on practical correction methods and cost data tracked on Mobiledetailing, including a breakdown of what paint correction actually costs and a test-spot method for judging one-step versus multi-stage correction, both written by John. Shops listed on the platform, such as Yosnel Exotic Paint Correction Car Detailing, show what a motorcycle-capable correction listing looks like in practice. For wet sanding, heavy correction work, and any coating application, hiring a professional remains the safer route.
How to get a local paint-correction quote
Finding a vetted mobile detailer near you starts on Mobiledetailing, where you can request a local quote by sharing your bike’s make and model, photos of the defects, and the finish you’re hoping to achieve. Request quotes from a couple of shops, and ask each one about their test-spot policy, how many correction stages they plan, and what maintenance a coating or sealant will need afterward.
FAQ
Is a paint correction worth it?
Paint correction is worth it when swirls, light scratches, or oxidation are limited to the clearcoat and the paint underneath is sound, since it restores gloss without the cost of a repaint. It is less worthwhile on matte or denim finishes, which should not be polished at all, or on paint damaged below the clearcoat.
How can I repair scratches on my motorcycle paint?
Light surface scratches confined to the clearcoat can often be improved with a test spot followed by a single-stage polish and a clean microfiber cloth, avoiding paper towels or nylon-blend cloths that can scratch further. Deeper scratches that catch a fingernail usually need compounding or wet sanding, which a professional detailer is better equipped to handle safely.
What are the negatives of ceramic coating?
Ceramic coatings cost more upfront than wax or sealant and still require periodic maintenance washing with pH-neutral products to perform as expected. They also do not make paint immune to scratches, rock chips, or the need for correction if defects exist underneath the coating.
What is the average cost to repaint a motorcycle?
Basic motorcycle repaint jobs typically run about $400 to $1,600, while custom paint jobs with more detailed work range from roughly $800 to $2,500 or more. Price depends on the bike’s size, how much prep is needed, and the complexity of the design.
Sources
- Harley-Davidson service procedure: care for denim (matte) paint
- Isocyanate profile — EPA archival report (refinishing industry hazards and controls)
- How much does it cost to paint a motorcycle? (HomeGuide)
Recommended
- Daily Drivers: Test Spot to See If One Step Paint Correction Works
- Stop Before You Strip Clear Coat: Clay First Car Overspray Removal
- $500–$2,500+: Paint Correction Cost U.S. Owners Pay and What to Ask
- Finish Clay Bar Treatment in 45–120 Minutes: Safe Test Spot Steps for DIYers
MobileDetailing.io provides general educational information. Products, surfaces and vehicle finishes vary. Follow manufacturer instructions and consult a qualified detailing professional before using abrasive processes or chemical treatments.