Preserve Clear Coat While Removing Ceramic Coating, Verify With IPA
Mechanical abrasion, meaning machine polishing with a cutting compound, is the reliable way to remove a cured ceramic coating. Before you reach for a polisher, run a deep decontamination wash with an iron remover and a clay bar, since many coatings that appear to have “failed” are simply clogged with contamination. If the job involves wet sanding, collision prep, or you are unsure what coating is on the car, hire a professional.
Table of Contents
- Comparing ceramic coating removal methods
- Step-by-step machine polishing for DIY removal
- When sanding is necessary and why it’s a pro job
- How to verify the coating is actually gone
- When to hire a professional and how to pick one
- Why this guidance matches industry practice
- Safety and paint-preservation precautions
- Where MobileDetailing.io fits into this
- Sources
- FAQ
Comparing ceramic coating removal methods
Not every car that needs attention actually needs its coating stripped. Contaminated coatings often look and behave like failed ones, so the order of operations matters more than the tool you pick up first.
Start with decontamination. An iron remover followed by a clay bar lifts embedded brake dust, road grime, and oxidized residue that can make a healthy coating look dull or patchy. A clay bar treatment restores gloss and beading in many cases without touching the coating itself, which saves time and protects the clear coat underneath.
When decontamination doesn’t restore performance, polishing or compounding is the normal route. Machine buffing with a heavy-duty compound and a wool or cutting pad is the method called out in industry guidance for removing cured coatings before paint work, and it’s the technique most mobile detailers and body shops rely on.
Abrasive sanding is reserved for stubborn or repair-related scenarios, such as a thick coating build or a panel headed into collision refinishing. It removes more material faster but carries a real risk of cutting into the clear coat if the grit or pressure is wrong.
Chemical strippers are the outlier here. Most are not formulated to break down cured ceramic coatings, and some can etch or discolor clear coat before they touch the coating at all. Manufacturer chemical-resistance testing shows that reagents affect clearcoats unpredictably, which is why chemical approaches should be treated as a last resort and tested on a hidden spot first.
A quick summary of when each method fits:
- Decontamination first: use iron remover and clay on any coated car before assuming the coating has failed.
- Polishing or compounding: the default method for removing a cured coating that has been confirmed present.
- Abrasive sanding: reserved for thick builds or collision prep, usually done by a trained technician.
- Chemical strippers: inconsistent on cured coatings and risky to the clear coat, so they’re rarely the right first move.
Step-by-step machine polishing for DIY removal
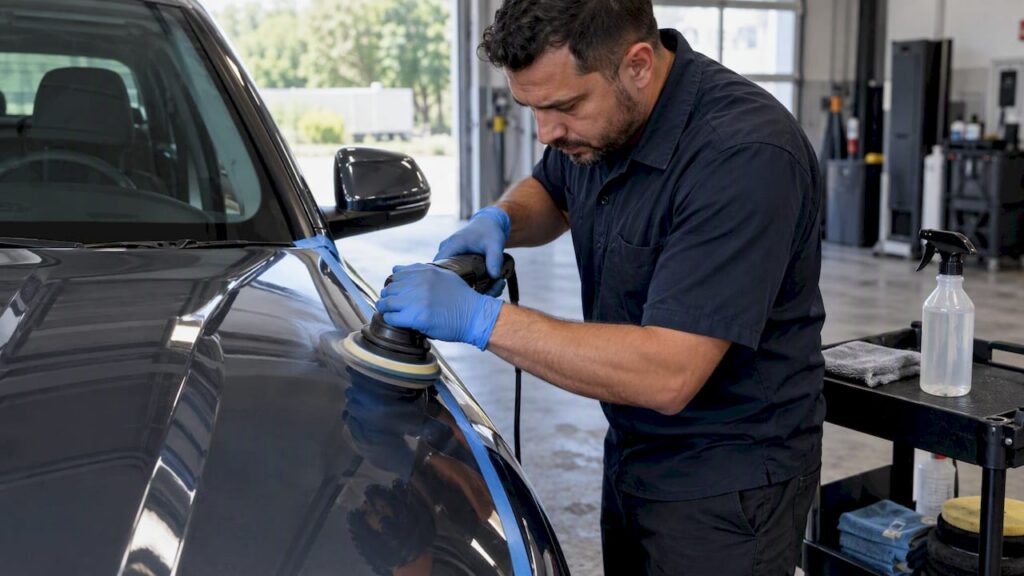
If you’ve confirmed a coating is present and decontamination alone didn’t shift it, machine polishing is the method with the best track record. Industry guidance for body repair and refinishing recommends machine buffing with a heavy-duty compound and a wool or cutting pad as the standard way to strip cured coatings before paint prep.
Before starting on visible panels, run a test spot. Buffing a small, inconspicuous area with a heavy compound and wool pad is a practical way to confirm a coating exists at all, since a thin or worn coating isn’t always visible to the eye.
Tools and supplies to have on hand:
- A dual-action or rotary polisher
- Wool or firm cutting pads sized for your machine
- A heavy-duty cutting compound rated for coating removal
- Isopropyl alcohol (IPA) and microfiber towels for wipe-downs
- Painter’s tape to protect edges, trim, and emblems
Panel workflow:
- Wash the panel and apply an iron remover to pull embedded contaminants.
- Clay the surface to remove anything the wash left behind.
- Wipe the panel with IPA to strip oils and residue before testing.
- Run a test spot with the cutting compound and wool pad, then check for coating removal.
- Work the full panel in overlapping passes, keeping the pad flat and moving.
- Wipe with IPA again and inspect under direct light before moving to the next panel.
Keep the polisher moving at a moderate speed with light to medium pressure, and let the pad and compound do the cutting rather than leaning into the paint. Clear coat generates heat quickly under a wool pad, so check panel temperature by hand periodically and stop if it feels hot. Thin spots, usually near edges and high points, are the most common place to burn through, so slow down and lighten pressure as you approach them.
Pro Tip: Work one body panel at a time and wipe it clean before moving on, so you always know exactly how much compound and pressure it took to clear that section, and can match it on the next one.
When sanding is necessary and why it’s a pro job
Some coatings resist buffing alone, particularly thicker professional-grade builds or layered applications meant to last multiple years. In those cases, light sanding ahead of compounding may be necessary to break through the coating before polishing can finish the job.
Collision-repair guidance from I-CAR/RTS and manufacturer technical notes point to a specific grit range for this work: P600 to P800. Going coarser risks cutting too deep into the clear coat, while using the wrong pad type, such as a nylon scuff pad, can embed coating residue rather than remove it.
The margin for error is small, and the mistakes are common among inexperienced DIYers:
- Embedding the coating: the wrong pad pushes coating material into the clear coat instead of lifting it off.
- Cutting through clear coat: too much pressure or too coarse a grit removes more material than intended.
- Blending failures: sanded areas that aren’t leveled evenly leave visible transition lines after polishing.
- Skipping manufacturer guidance: refinish authorities including PPG, Axalta, and AkzoNobel each publish grit and pad recommendations that vary by product, and ignoring them raises the risk of paint defects.
Because the consequences of a mistake usually mean a repaint, wet sanding and any sanding tied to collision prep is work best handled by an experienced technician with the right equipment and training.
How to verify the coating is actually gone
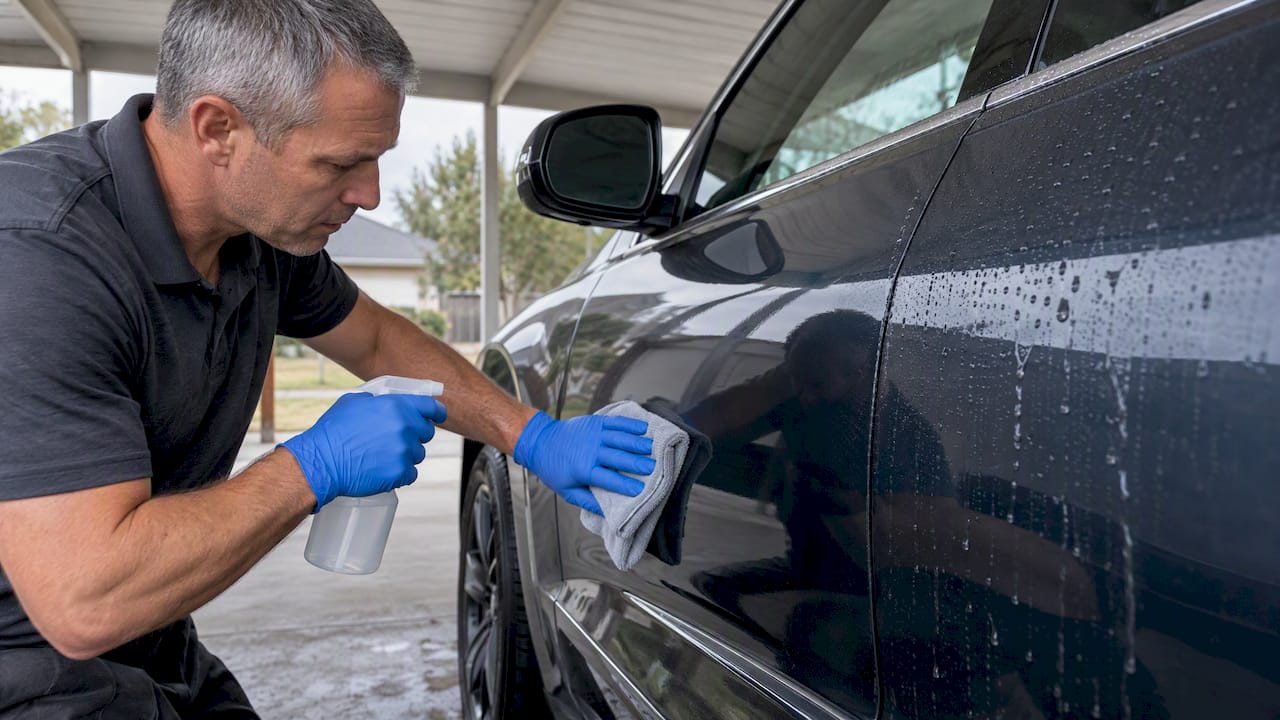
Beading on its own doesn’t prove much. Quick detailers and leftover polishing oils can cause water to bead temporarily even after a coating is removed, so a proper check starts with cleaning the surface, not looking at it.
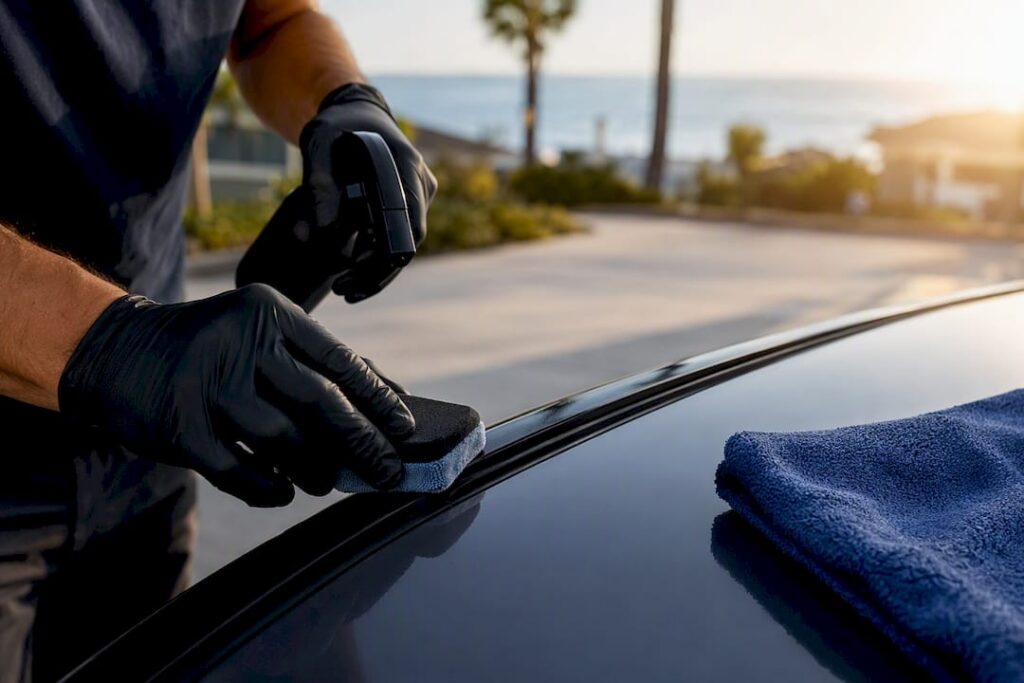
- Wipe the panel thoroughly with isopropyl alcohol to strip any polish oils or detailer residue.
- Pour or spray water on the panel and watch how it behaves: tight beading suggests coating is still present, while sheeting or flat wetting suggests it’s gone.
- Check edges, body lines, and around emblems, since coatings often survive longest in these low-contact areas.
- Photograph each test spot so you have a record to compare against if a panel looks inconsistent later.
- Repeat the IPA wipe and water test on every panel before considering the job finished.
IPA wipe-downs matter more than most DIYers expect: residual polish or detailer spray can mask whether a coating is truly gone, so skipping this step risks a false pass.
Before moving to recoat or refinish, run through a short final check: every panel IPA-wiped, every panel water-tested, edges and emblems inspected, and photos taken of any spot that still beads. If a panel fails, go back to compounding before trying anything more aggressive. For readers planning to reapply a coating afterward, the maintenance steps that follow a fresh application are worth reviewing before the next coat goes on.
When to hire a professional and how to pick one
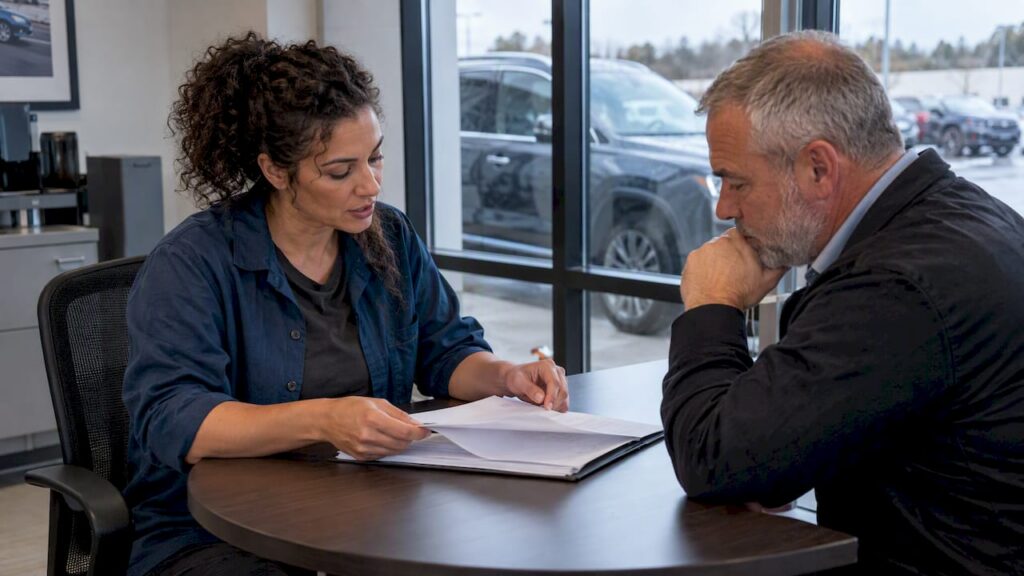
DIY polishing handles a lot of cases, but some jobs call for a professional outright. Wet sanding, a coating you can’t identify, prep work ahead of collision repair, or simply not having a dual-action polisher and the time to learn it properly are all good reasons to call someone instead of guessing on your own paint.
When comparing local detailers or body shops, a few questions separate the experienced from the inexperienced:
- Have they removed ceramic coatings before? Ask specifically, not just about general detailing experience.
- What tools and pads do they use? A shop that mentions wool pads, the correct grit range, and IPA verification is speaking the same language as the guidance above.
- Can they show before-and-after photos from coating removal jobs, not just standard details or coatings they’ve applied.
- Do they offer any guarantee on the clear coat if something goes wrong during the process?
- Are they insured for the work, especially if sanding or refinishing is involved?
A solid quote should spell out the scope clearly: which panels are being worked, whether decontamination is included, whether sanding is expected, and how any blending into adjacent panels will be handled. Vague quotes that just say “polish and remove coating” without specifics are harder to hold anyone to later.
Mobiledetailing lists local mobile detailers and shops by location, with profiles, photos, and reviews, so you can compare a few providers and request quotes side by side instead of calling around blind. A vendor-written walkthrough on handling high spots during cure stages is a useful reference if you’re trying to understand how professionals think about timing and technique before they ever touch a compound.
Why this guidance matches industry practice
The recommendation to use mechanical abrasion, not chemicals, comes straight from how the collision-repair and refinishing industry handles coatings before paint work. SCRS recommends machine buffing with heavy-duty compound and a wool or cutting pad as the method to remove cured coatings, and recommends test-spotting because coatings are often invisible until you buff a small area and check the result.
That same logic shows up in collision-repair guidance from I-CAR/RTS and refinish manufacturers, which stress that incomplete removal before refinishing raises the risk of paint defects and added labor. A few points worth keeping in mind:
- Industry sources agree mechanical buffing, not chemical stripping, is the dependable removal method for cured coatings.
- Test-spotting and photographing results before committing to full-panel work is a recurring recommendation across repair guidance.
- Coating lifespan varies by product and application, which is why understanding how long a coating is expected to last helps distinguish a coating that’s simply aging from one that’s failed.
MobileDetailing.io publishes practical guidance on coating maintenance and removal topics as part of helping vehicle owners make informed decisions before they hire a detailer or attempt work themselves.
Safety and paint-preservation precautions
Compounding and sanding generate fine dust and airborne particulate, and the compounds themselves can irritate skin and eyes. Basic PPE isn’t optional for anyone doing this work at home.
- Wear safety glasses any time a polisher or sander is running near your face.
- Use nitrile gloves when handling compounds, iron removers, or IPA to avoid skin irritation.
- Wear a respirator rated for fine dust if sanding, since dry sanding produces particulate that isn’t safe to breathe repeatedly.
- Work in a ventilated space and avoid running a polisher or sander in a closed garage without airflow.
- Wet sand instead of dry sand where possible, since it cuts down dust significantly and is gentler on the clear coat.
- Avoid untested aggressive chemicals, since chemical-resistance data shows reagents affect clear coats unpredictably depending on the exact formulation and exposure time.
- Dispose of used pads, solvents, and contaminated rags properly, following local hazardous waste guidelines rather than regular trash.
Pro Tip: Keep a damp rag handy to wipe dust off the surface as you sand, so you can check your progress without breathing in what you just removed.
Where MobileDetailing.io fits into this
If the test spot shows a coating that needs sanding, if you’re prepping a panel for collision repair, or if you’d rather not risk your clear coat on a first attempt, a local professional is the safer route. There are online directories where vehicle owners can search by location and compare mobile detailers and shops that handle ceramic coating removal, paint correction, and reapplication, often including profiles, photos, and reviews for consideration before reaching out.
It suits anyone who read through the steps above and decided the risk of burning through clear coat isn’t worth saving on labor, or anyone who simply doesn’t own a polisher and isn’t buying one for a single job. You can browse listings and request a local quote to compare scope and pricing from a few providers before committing to any one shop.
Sources
- Recommendations for Ceramic Coating Removal — SCRS
- Ceramic coatings considerations for collision repair — I-CAR / RTS
- Chemical resistance chart — Benjamin Moore
FAQ
What dissolves ceramic coating?
Nothing reliably dissolves a cured ceramic coating on contact. Mechanical abrasion, meaning machine buffing with a heavy-duty compound and wool or cutting pad, is the method industry guidance points to for breaking down and removing cured coatings.
Will Dawn dish soap remove ceramic coating?
Dish soap will not remove a properly cured ceramic coating. It can strip wax or sealant layers and dull the surface’s beading temporarily, but the coating itself requires mechanical buffing to come off.
What destroys ceramic coating?
Repeated machine buffing with a cutting compound is what actually breaks down a cured coating, along with abrasive sanding in the P600 to P800 range referenced in manufacturer refinishing guidance for stubborn builds. Harsh, untested chemicals can also damage the coating and the clear coat underneath, so they’re not a safe shortcut.
Does vinegar remove ceramic coating?
Vinegar is not a dependable way to remove a cured ceramic coating and can behave unpredictably on clear coat depending on the specific chemistry involved. If water spots or mineral deposits are the real issue rather than coating failure, a targeted water spot treatment is a safer first step than reaching for vinegar.
How do I know if the coating is fully removed?
Wipe the panel with isopropyl alcohol to remove any residual polish oils, then check how water behaves on the surface. Tight beading suggests coating is still present, while water sheeting or sitting flat suggests it has been removed, and checking edges and emblems catches spots that often get missed.
Recommended
- Test Before You Recoat: 4 Step Ceramic Coating Maintenance
- Stop Rewaxing: Ceramic Coating Lasts a Year or More, and Find a Pro
- Lab Claims: Ceramic Coating Lifespan for Car Owners, 1–7+ Years
MobileDetailing.io provides general educational information. Products, surfaces and vehicle finishes vary. Follow manufacturer instructions and consult a qualified detailing professional before using abrasive processes or chemical treatments.