Camper Exterior Cleaning: How to Wash, Wax and Protect It
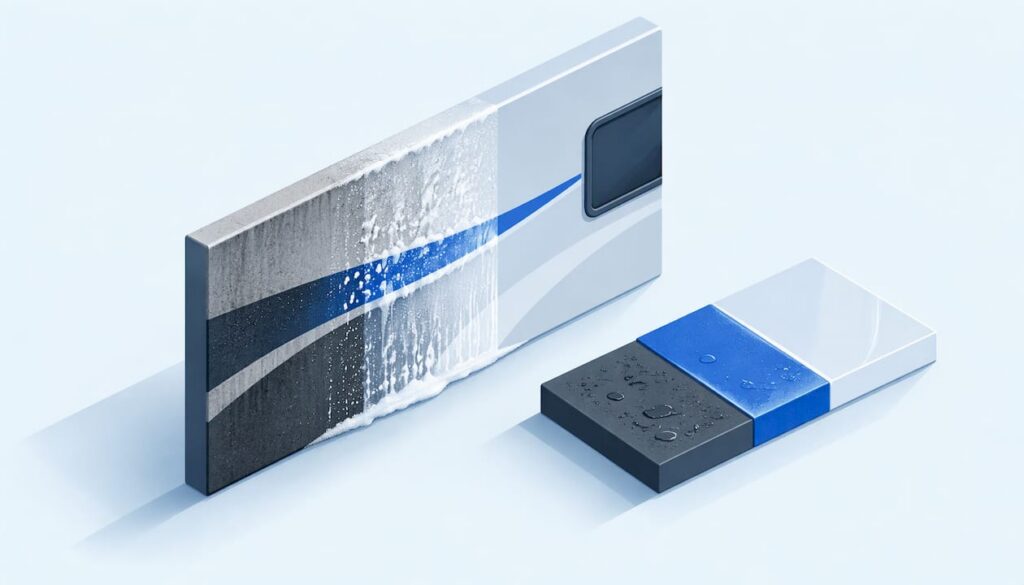
The safest way to clean a camper exterior is by hand: park in the shade, rinse from the roof down, wash in sections with a soft brush or mitt and an RV-safe soap, rinse again, and dry before the water spots. Then wax once or twice a year, using a product that suits your camper’s surface. Anything involving polishing, wet sanding, coatings or harsh chemicals is a job for a professional.
The rest of this guide covers the details: what to bring, the order of work, what to use on fiberglass, painted aluminum, decals and awnings, how often to wash and wax, and how to hire a mobile detailer if you would rather not spend a weekend on a ladder.
Table of Contents
- What you need to wash the outside of a camper
- Before you start: location, timing and a quick inspection
- How to wash a camper exterior, step by step
- Choosing products for each surface
- Should you wax a fiberglass camper?
- How often to wash and wax
- Wash it yourself or hire a mobile detailer?
- A simple maintenance routine
- FAQ
- Sources
What you need to wash the outside of a camper
You don’t need much, but the right tools keep you from scratching the finish. Manufacturer and dealer guides agree on the basics:
- A soft-bristle brush with an extending handle, plus a microfiber mitt or soft sponge for areas the brush can’t reach. Heartland RVs lists both, along with microfiber cloths and a chamois for drying.
- Two buckets, one for soapy water and one for clean rinse water. Swishing a dirty mitt in the rinse bucket keeps grit out of the soap.
- A hose with an adjustable spray nozzle. A wide, moderate spray is enough. Heartland notes that too much pressure can cause damage.
- A mild soap made for RVs. CrossRoads Trailers recommends warm water with mild RV-specific soap and a soft brush or sponge.
- Microfiber towels or a squeegee for drying, and wheel and tire cleaner if you want to do the wheels.
- A sturdy ladder for the roof edge and upper sides.
If you want automotive-grade washing and drying products rather than whatever is on the hardware store shelf, a specialist car care shop for washing and drying tools sells shampoos, glass cleaners and protectants for leisure vehicles as well as cars.
What to leave in the cabinet
Two things cause most of the damage to otherwise careful owners.
Household soap. CrossRoads Trailers warns that regular household soaps and detergents can strip protective coatings and cause damage over time. Image Wash Products goes further and says never to use dish soap. Use a wash made for RVs or one that’s labeled safe for your finish.
Stiff brushes. The same guide says a broom is far too stiff. Brooms, scouring pads and dry rags drag grit across clear coat and gelcoat. Soft brushes and cloths matter most around decals and custom paint.
Before you start: location, timing and a quick inspection
Park in the shade or wash on an overcast day. CrossRoads Trailers notes that direct sun dries soap too quickly and leaves water spots. If the sides are hot to the touch, hose them down and wait.
Walk around the camper first. Look for lifted decal edges, cracked sealant around windows, vents and roof seams, and open seams along trim. Water pressure and brush bristles will find every weak spot, so note anything that needs repair before you wash. Close all windows, vents and the entry door, and cover or retract any open roof vents.
How to wash a camper exterior, step by step
- Rinse the whole camper from the top down. This knocks off loose dust, bugs and grit before anything touches the finish. Simple Green’s RV directions also say to rinse downward from the roof.
- Mix your soap exactly as the label says. Each product has its own dilution. For example, the Simple Green RV wash directions call for 1 ounce of its Wash & Wax per gallon of water. Don’t assume other products use the same ratio.
- Work in sections about 4 to 5 feet wide. The same directions use a soft sponge, soft brush or non-abrasive cloth. Smaller sections mean the soap never dries on the surface.
- Start at the top and work down. Roof edge first, then upper sides, then lower panels, then the bumper and wheels. Lower areas are the dirtiest, so leaving them for last keeps that grime off the cleaner parts.
- Use horizontal strokes. Airstream’s support team says to work with the grain, because an up-and-down motion causes fine scratches in the clear coat that show when sun hits them. That advice is written for Airstreams, but it’s sensible for any smooth painted or polished panel.
- Rinse each section before moving on, and give the whole camper a final flood rinse from the top.
- Dry right away. Use a chamois, microfiber towel or paint-safe squeegee. Image Wash Products recommends drying promptly to prevent water spots, and Simple Green gives the same instruction.
Pressure washers
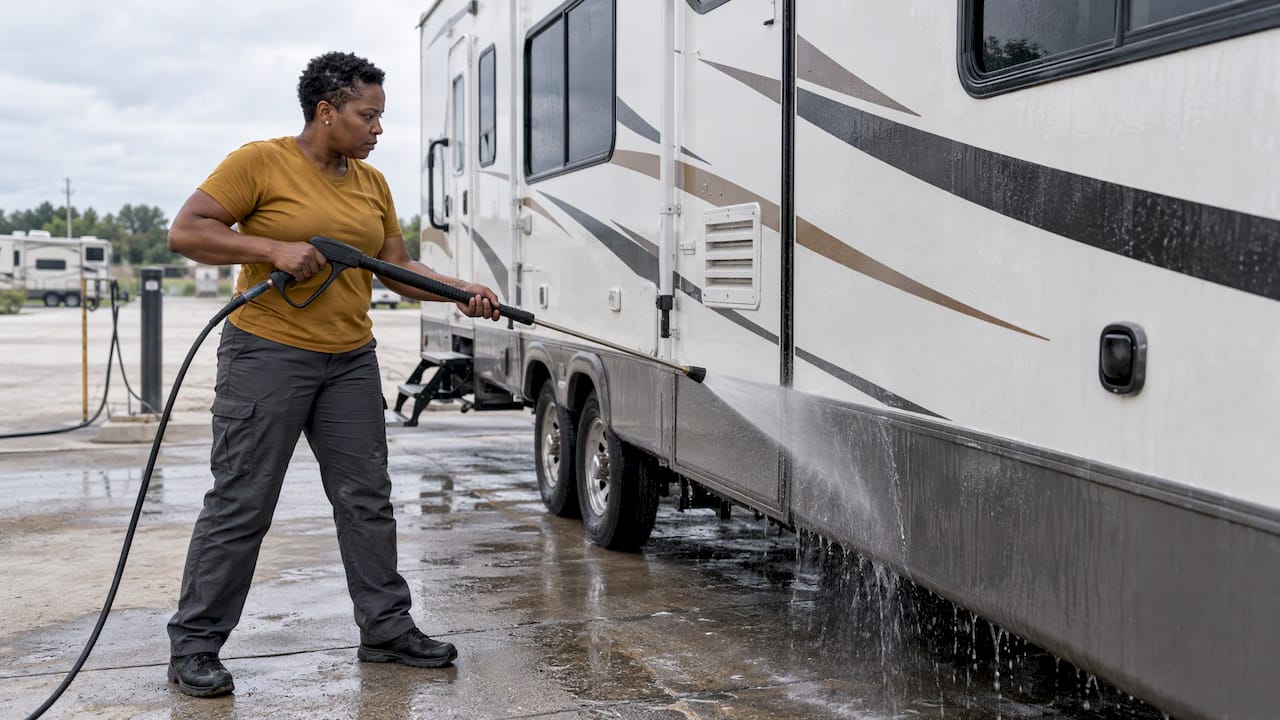
A pressure washer can save time on a big rig, but it is the quickest way to push water behind seals and lift decals. Jayco advises keeping the nozzle at least 16 inches from the RV. Keep the spray angled away from window frames, seams, vents and decal edges, and don’t aim it upward at roof seams.
Automatic car washes
Jayco says hand washing, though time-consuming, is the best way to clean an RV exterior, and it does not recommend automatic car washes. That is a manufacturer’s position rather than an independent test, but it lines up with the practical problems: brushes snag awnings and antennas, and most bays aren’t built for a camper’s height.
Choosing products for each surface
A camper is a patchwork of materials. CareFree of Colorado points out that fiberglass, aluminum and painted surfaces may need different products and says to follow the manufacturer’s recommendations. Your owner’s manual or the maker’s support page comes first, whatever a product label says.
| Surface | What to use | What to watch |
|---|---|---|
| Fiberglass or gelcoat sides | RV or marine-grade wash, then wax made for fiberglass or gelcoat | Oxidation shows up as a chalky, dull finish; heavy oxidation is a polishing job |
| Painted aluminum | Mild wash, then a synthetic wax or polymer sealant | Don’t use abrasive waxes; keep wax off decals |
| Clear-coated metal (such as polished Airstream-style shells) | Wash and wax labeled safe for clear coats | Horizontal strokes only |
| Matte finishes | Wash and protectant made for matte paint | Standard waxes and polishes can leave shiny patches |
| Decals and graphics | Soft cloth, mild soap | No wax over them, no pressure on the edges |
| Awnings | A cleaner made specifically for awning fabric | Harsh products can degrade fabric or fade color |
| Roof membrane | The cleaner the roof manufacturer specifies | Wrong chemicals can harm seals |
The product guidance in that table comes from CareFree of Colorado (fiberglass, painted aluminum and matte finishes), RVBlogger (no wax over decals) and Heartland RVs (awning cleaners). For matte paint specifically, our guide to washing and protecting matte paint explains why ordinary wax is the wrong choice.
Tar, bugs and stubborn spots
Road tar and bug splatter are the most common reasons people reach for something stronger than soap. Don’t. Jayco specifically warns against gasoline or paint thinners for road tar or other contamination on a painted RV surface. A purpose-made remover is the safer route, and this walkthrough on removing tar from paint safely covers the approach for ceramic-coated and matte finishes. Test any remover on a hidden spot first, and rinse thoroughly afterward.
For bugs, soak the area with soapy water for a few minutes so they loosen, rather than scrubbing them dry.
The roof
Roof care depends on the membrane (rubber, TPO, PVC or fiberglass), and the wrong chemical can harm the material or its seals. Do the roof last, wear shoes with good grip, and don’t step on a roof unless the manufacturer says it can carry your weight. If you’d prefer to leave it to someone who handles roofs routinely, see our piece on RV roof cleaning that protects the seals.
Should you wax a fiberglass camper?
Generally, yes, using a wax made for fiberglass or gelcoat. CareFree of Colorado recommends a high-quality RV or marine-grade wax for fiberglass or gel coat, and RVBlogger suggests a wash-and-wax product for fiberglass because it both cleans and protects for the future. Wax adds a sacrificial layer that helps shed water and slows the chalky dullness that sun exposure causes.
Before you wax, check these five things:
- What your surface is. Fiberglass sides, a painted aluminum skin and a rubber roof are different materials. Wax belongs on the first two (and on a fiberglass roof), not on rubber roofing or matte finishes.
- What your manufacturer says. Some coatings come with their own care instructions. One factory-applied coating maker’s FAQ, for example, says not to use wash-and-wax or auto soaps on its finish. If your camper has a special factory finish, read its care guide first.
- Whether the surface is clean and dry. Wax over dirt grinds it into the finish. Wash, dry and, if needed, remove tar first.
- Whether the wax is abrasive. Jayco warns that waxes with high-abrasive compounds can scrape off the coating. A cleaner wax with a strong cutting action is meant for oxidized surfaces, not routine upkeep.
- Where the decals are. RVBlogger advises not waxing over them.
Apply a small amount to a soft cloth and rub gently, as Jayco describes, in a thin even layer. Thick wax is harder to buff and doesn’t protect better.
When wax isn’t enough
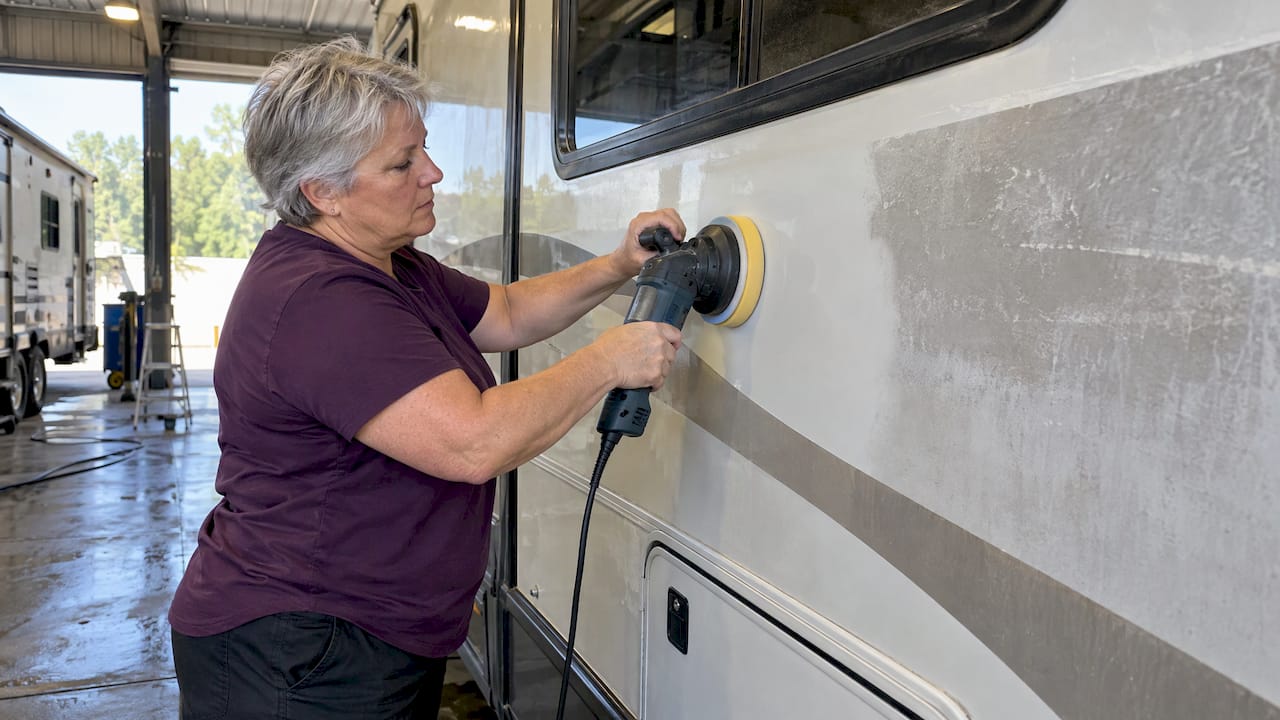
If the fiberglass is already chalky or faded, wax alone just sits on top of damaged gelcoat. The fix is polishing. Image Wash Products describes a process of section-by-section polishing with a dual-action polisher, then wax. That is machine work that can burn through gelcoat if done wrong, so it is a good point to hire a professional. The same goes for wet sanding and paint correction.
How often to wash and wax
There is no single schedule, but manufacturer guidance gives a useful baseline.
- Washing: Airstream recommends washing the exterior about every four weeks.
- Waxing: Airstream suggests waxing in spring and fall, and more often in coastal and industrial areas. Jayco says at least once or twice a year.
Adjust for how you use the camper. A camper parked outdoors under strong sun, or driven on salted winter roads or near the coast, needs more frequent rinsing. Wash after trips through bugs, tar or road spray rather than waiting for the calendar.
If you’re tired of rewaxing, ceramic coatings are an option, but they’re a professional job and aren’t a substitute for washing. Our comparison of ceramic coating and wax explains how they differ and what to ask a pro. Ask any installer what the coating is rated for on your camper’s specific surface, and what care they’ll expect afterward.
Wash it yourself or hire a mobile detailer?
A full camper wash is a big job. Work on a 30-foot trailer means a ladder, a few hours and a lot of reaching. Doing it yourself makes sense for regular maintenance washes. A pro makes more sense when:
- The surface needs correction: oxidized gelcoat, swirl marks, water-etched spots or faded paint.
- You want a coating or a long-term protection layer that must be applied correctly.
- The roof needs attention and you aren’t comfortable up there.
- You don’t have space or water access. Many campgrounds and HOAs restrict washing, and mobile detailers bring their own water and equipment to your driveway, storage lot or campsite where it’s allowed.
- You’re prepping to sell and want the best result without a lost weekend.
Our guide to asking about waxing and RV certification lists what to ask before booking.
Questions to ask before you hire
- Have you worked on my type of camper (fiberglass, painted aluminum, matte, clear-coated)?
- Which products do you use on the sides, the decals and the roof?
- Do you carry insurance, and will you bring your own water and power?
- What’s included in the price, and what is extra (roof, wheels, wax, oxidation removal)?
- Can you give me a written quote for my camper’s length and condition?
Prices vary with camper length, condition and region, so get at least two written quotes rather than relying on a general estimate.
Detailers with RV experience on MobileDetailing.io
MobileDetailing.io is a nationwide directory. Searching by location lets you compare local professionals, read reviews and send quote requests, and it costs vehicle owners nothing. A few listings that mention RV work include Fiberglass WorX in Arvada, CO, which lists RV repair, roof work and detailing, and Classy Auto/RV Detail in Tucson, AZ. Check each profile for the services and service area before you request a quote.
Ready to compare local options? Browse mobile detailing professionals near you, or send your camper’s details through the quote request page and hear back from local detailers.
A simple maintenance routine
If you want a routine that keeps the work manageable:
- After each trip: quick rinse, bug and tar spot treatment, and a look at the decals and seals.
- Roughly monthly: full hand wash following the steps above.
- Spring and fall: wax the sides with a product suited to the surface, and inspect roof and window sealant.
- Once a year: have the roof cleaned and inspected, and consider a professional polish if the finish is dulling.
Small, regular washes are easier than rescuing a neglected finish, and they help you spot sealant problems early, before water gets inside.
FAQ
What do you use to wash the outside of a camper?
Use a mild soap made for RVs, warm water, a soft brush or microfiber mitt, a hose with an adjustable nozzle, and microfiber towels for drying. Avoid household detergents and stiff brushes. Check your manufacturer’s care guide if you have a specialty finish.
Should you wax a fiberglass RV?
Yes, in most cases. Use a wax made for fiberglass or gelcoat and apply it to a clean, dry surface, once or twice a year. If the gelcoat is already chalky, have a professional polish it first.
How often should I wash and wax a camper?
Airstream suggests washing about every four weeks and waxing in spring and fall, with more frequent care near the coast or in industrial areas. Jayco says to wax at least once or twice a year. Adjust for sun, salt and travel.
Can I take my camper through a car wash?
Jayco does not recommend automatic car washes for RVs and calls hand washing the best method. Height, awnings, antennas and roof-mounted gear are also practical concerns in most automatic bays.
Sources
- Cleaning the Exterior of Your RV, Jayco
- Routine Maintenance Tasks for Your Airstream, Airstream Support
- Tips for Washing a Camper Exterior, CrossRoads Trailers
- The Best Way to Wash and Maintain an RV Exterior, Heartland RVs
- How to Clean an RV Exterior, CareFree of Colorado
- How to Clean the Outside of a Camper Trailer, RVBlogger
- How to Wash a RV, Simple Green
- How to Wash and Wax an RV Correctly, Image Wash Products
- Remove Tar from Your Car Safely
- Car care products for washing and drying
Recommended
- RV Wash: Ask About Waxing and IDA RV Certification
- Manufacturer Backed RV Roof Cleaning That Preserves Seals
MobileDetailing.io provides general educational information. Products, surfaces and vehicle finishes vary. Follow manufacturer instructions and consult a qualified detailing professional before using abrasive processes or chemical treatments.